
There are many ways to delete and recover notes from directly within the Notes app, but keeping them synced in the cloud — whether using iCloud or Google’s proprietary services — is the best way to make sure you don’t lose any notes. This allows you to easily change devices without fear of losing your data, or get everything back after a complete data wipe. Below, we will guide you through the steps of deleting and recovering notes.
Deleting notes
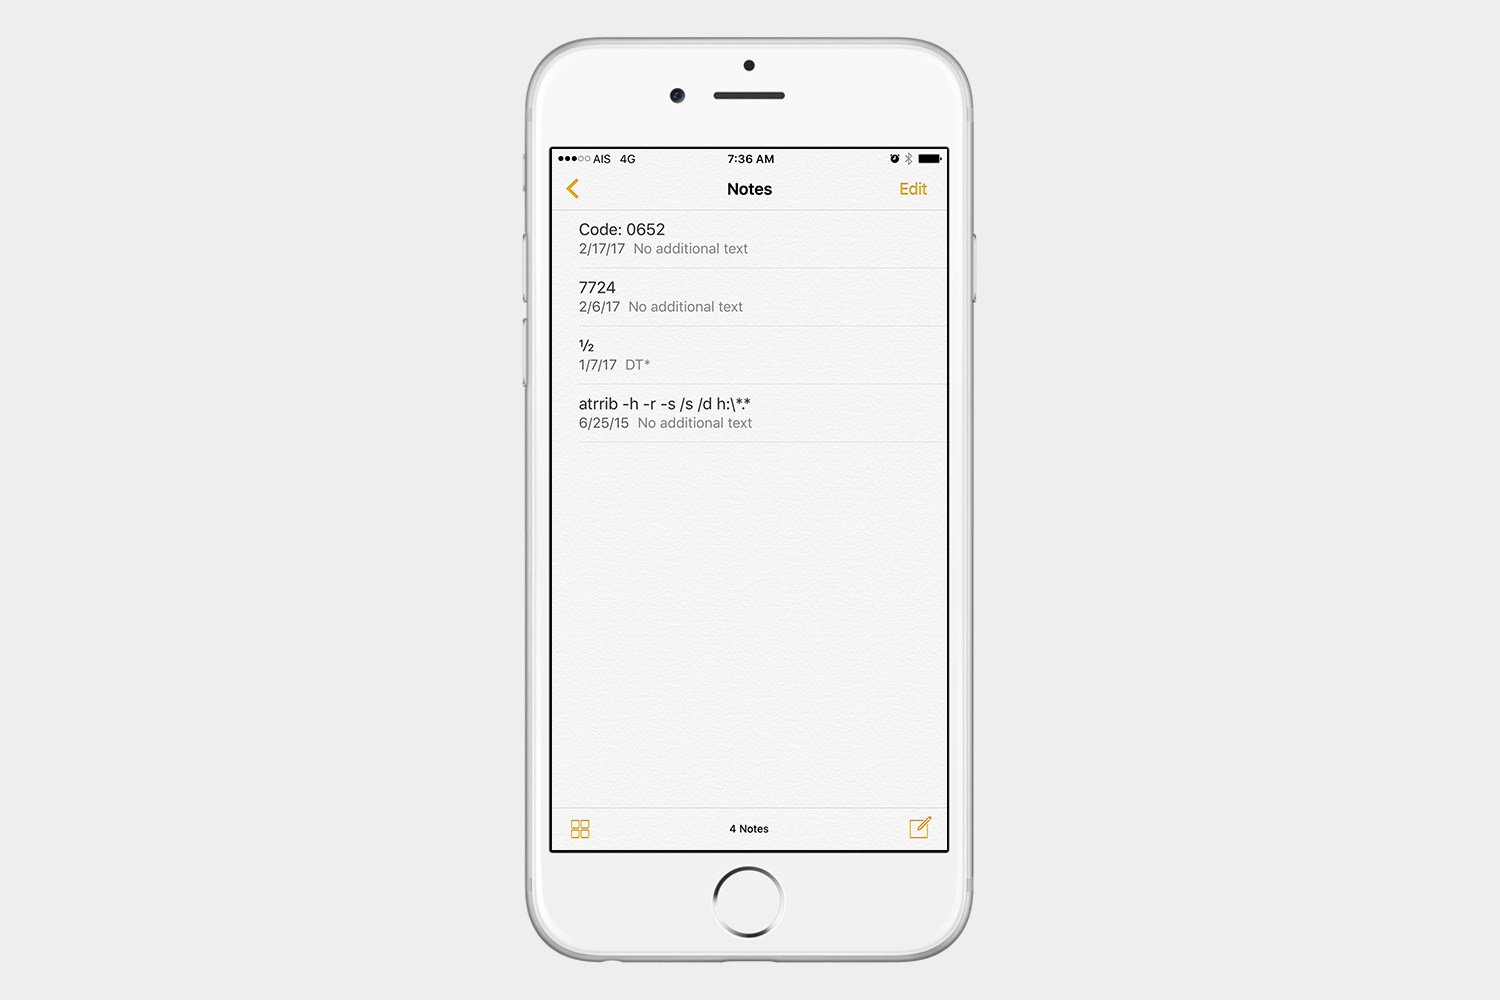
Deleting all notes at once
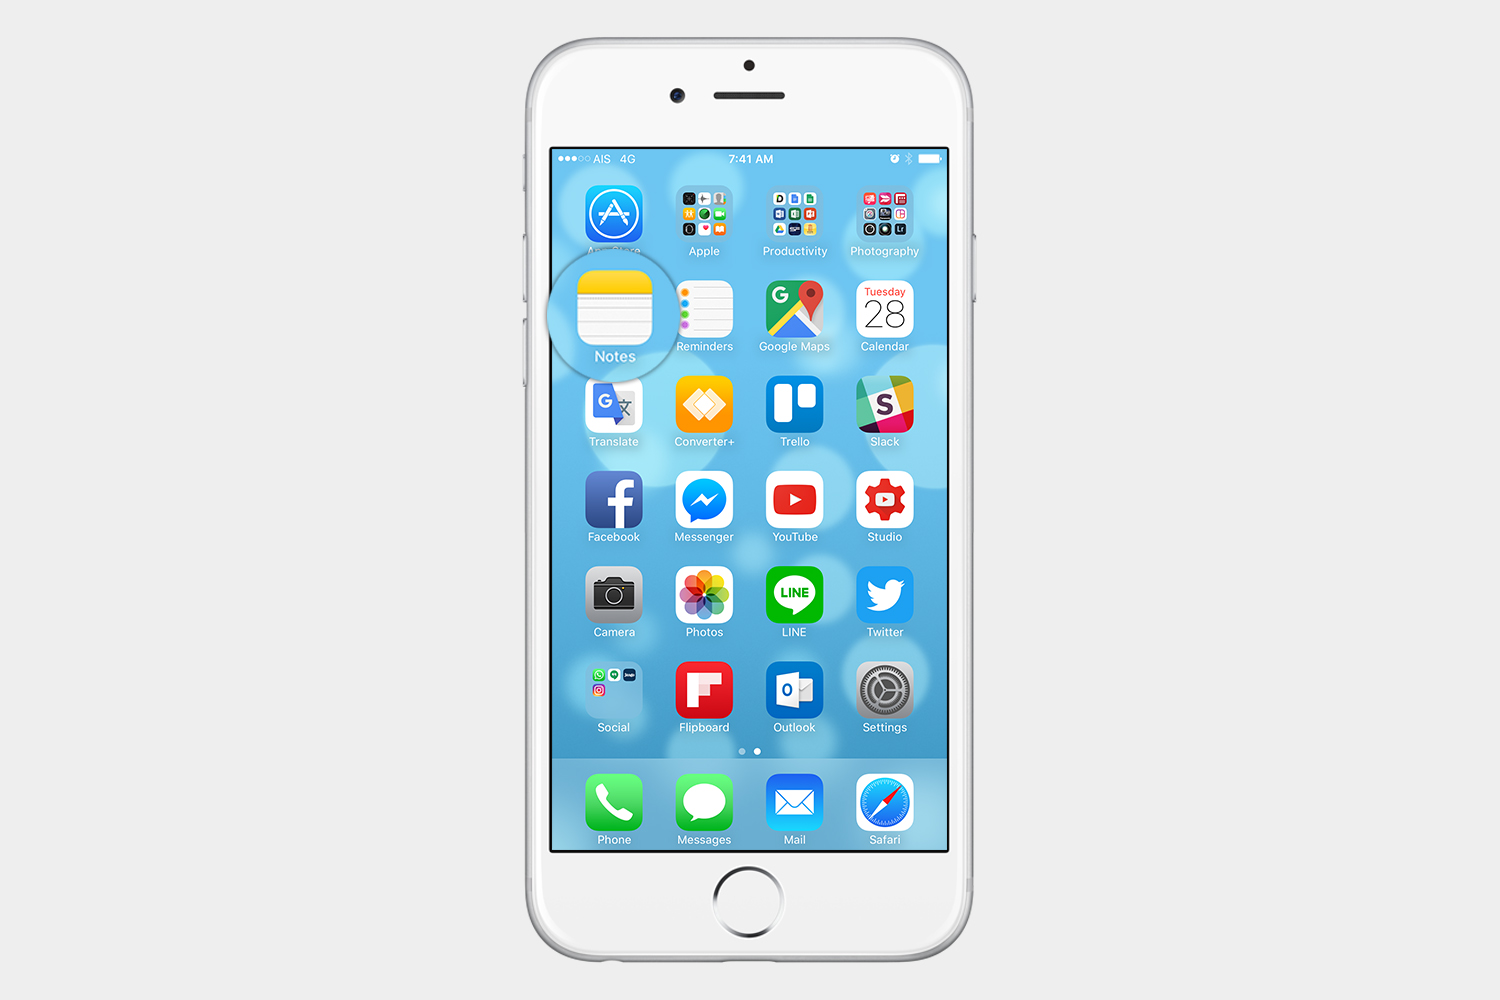
- Open the Notes app.
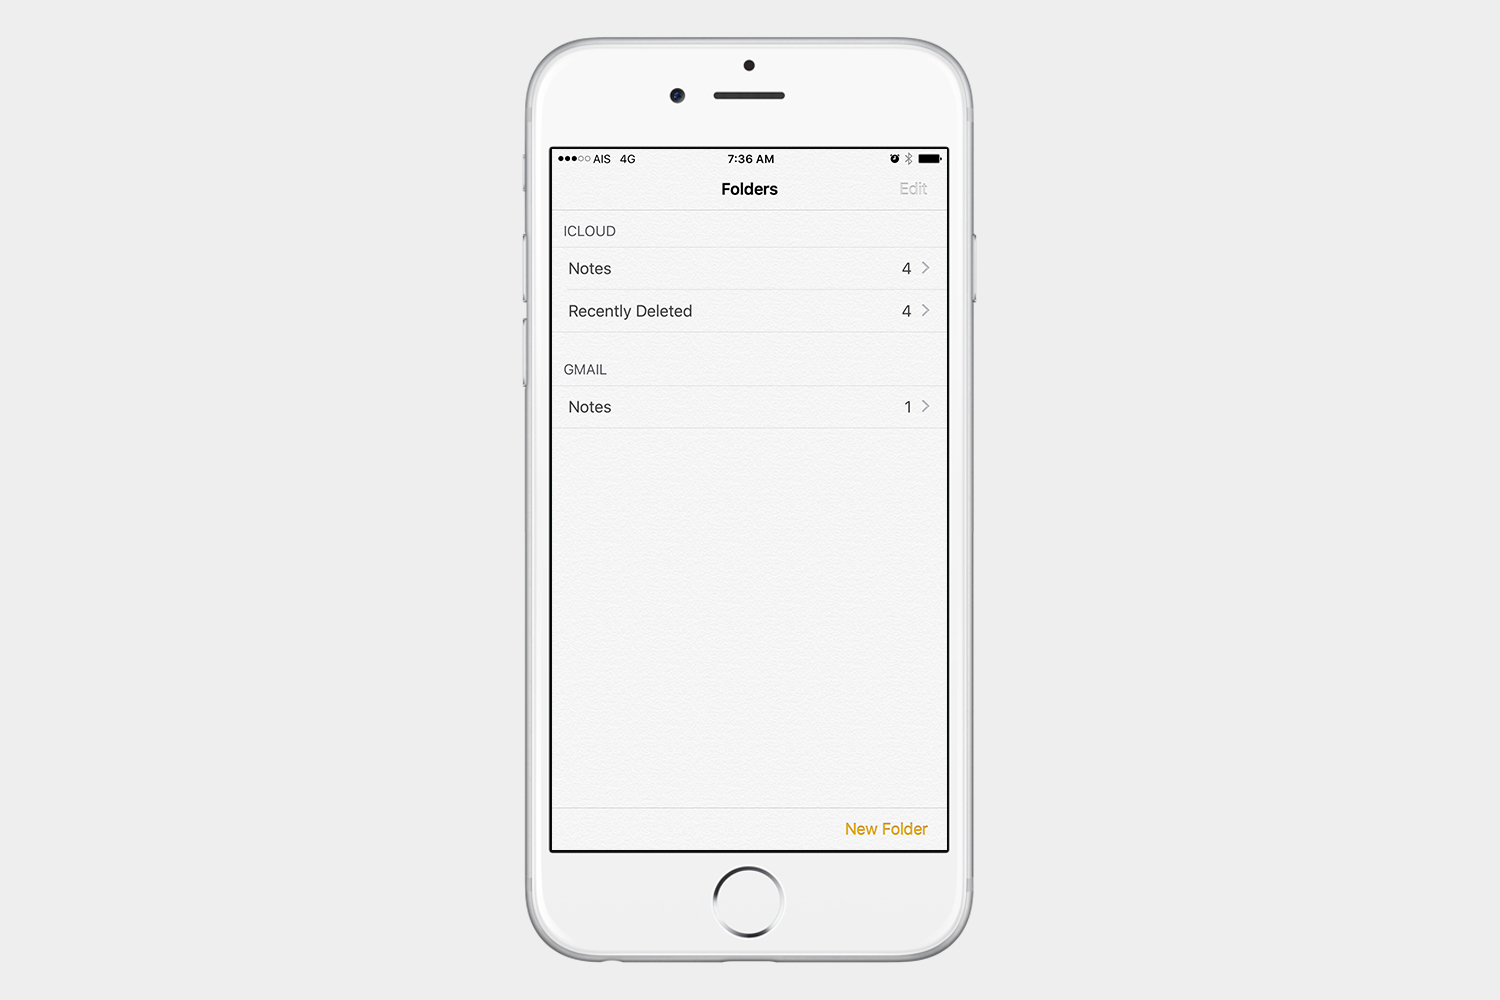
- Select the folder and account that you want to go into.
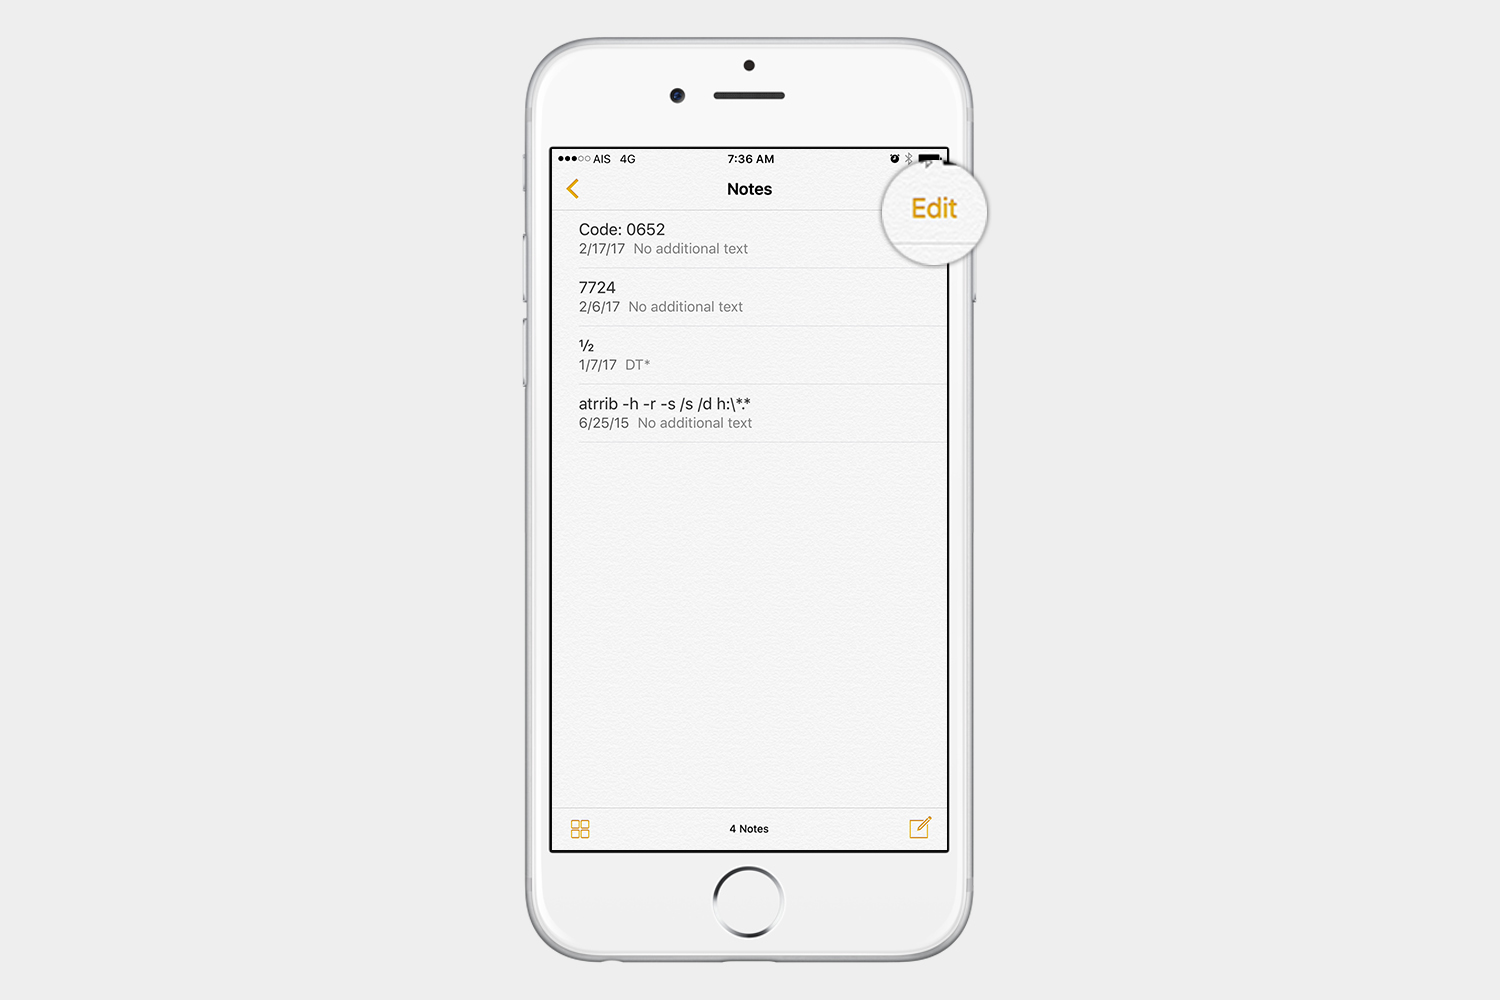
- Tap Edit in the upper-right corner.
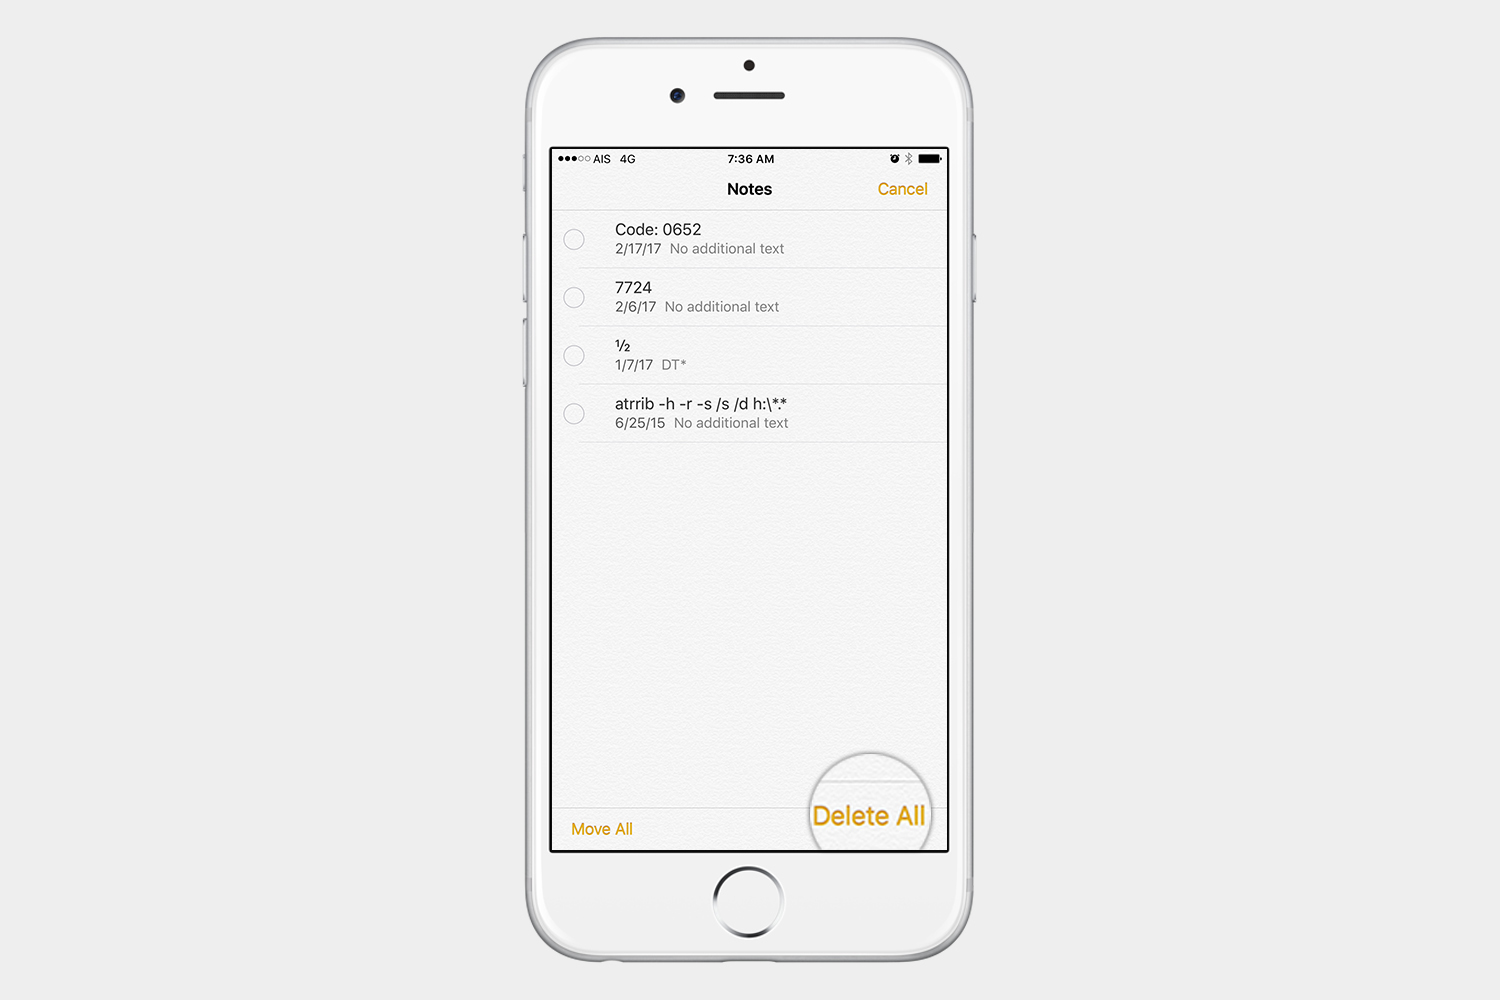
- Tap Delete All in the bottom-right corner.
Deleting a single note at a time
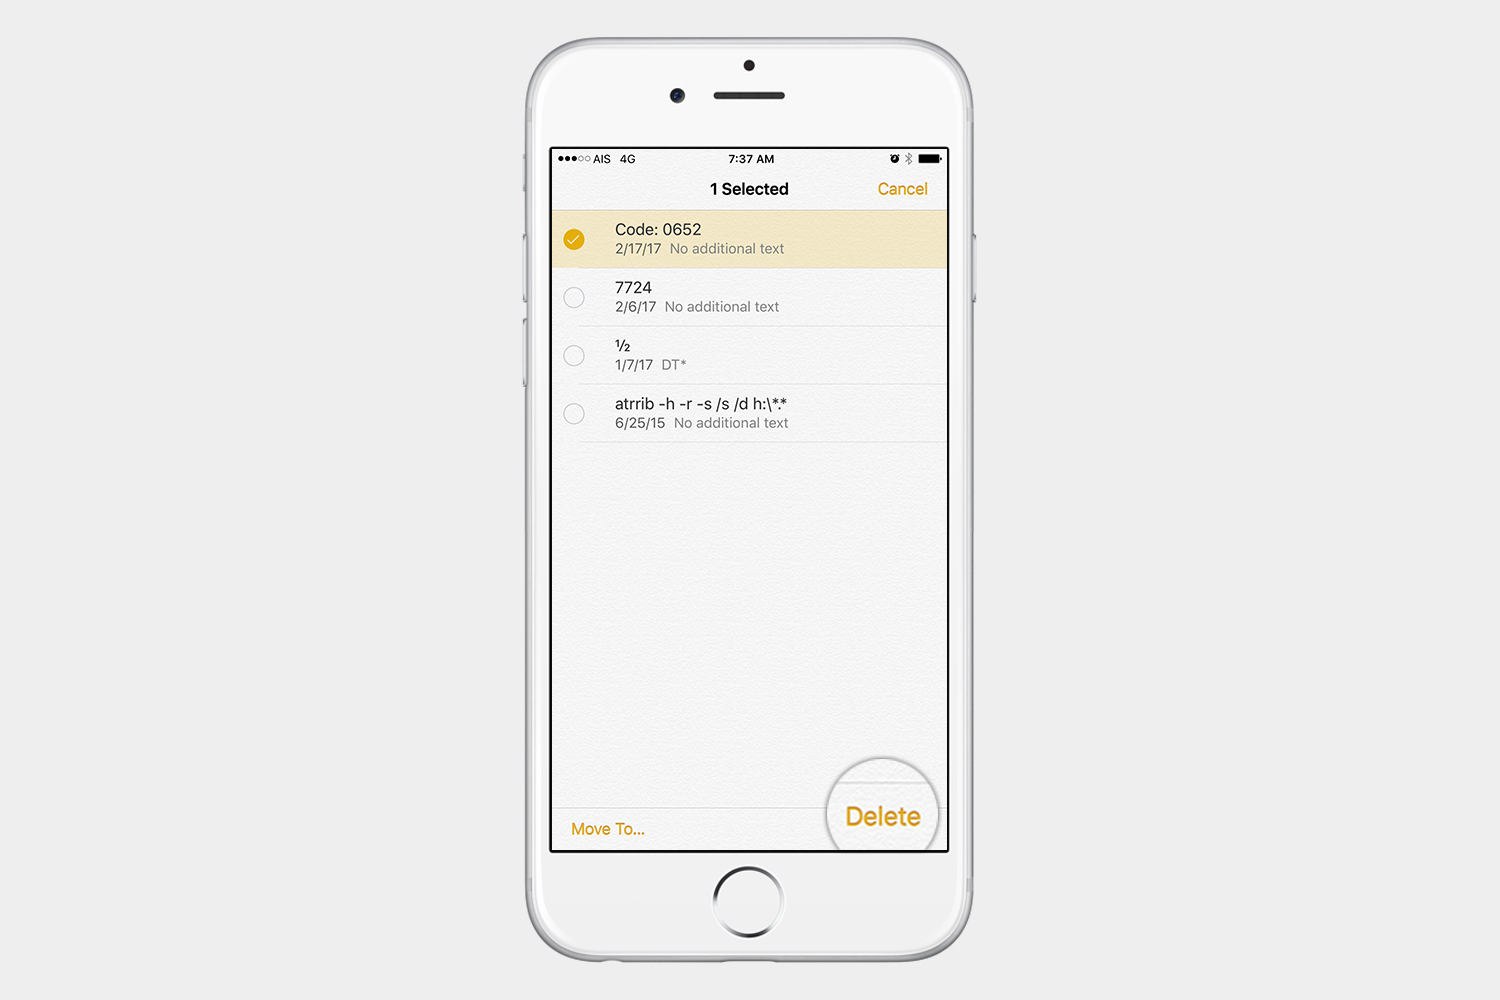
- Tap Edit in the upper-right corner.
- Select the individual note, or notes, that you want to delete.
- Tap Delete in the bottom-right corner.
Deleting a note using the swipe gesture

- While looking at your notes, swipe left on any one of them, and tap Delete.
Deleting a note from within

- Tap the note the you want to delete to open it.
- Tap the trash icon in the lower-left corner.
Deleting using 3D Touch

- When you’re looking at your list of notes, press down on the note you want to delete to perform a peek.
- Swipe up while in peek mode, and select Delete from the menu.
Recovering deleted notes
If you have deleted some notes, and you need to recover them, there are a few ways you can accomplish this.
Recovering deleted notes from Recently Deleted
Remember that the Notes app has a Recently Deleted folder. The keyword here being “recently,” as the
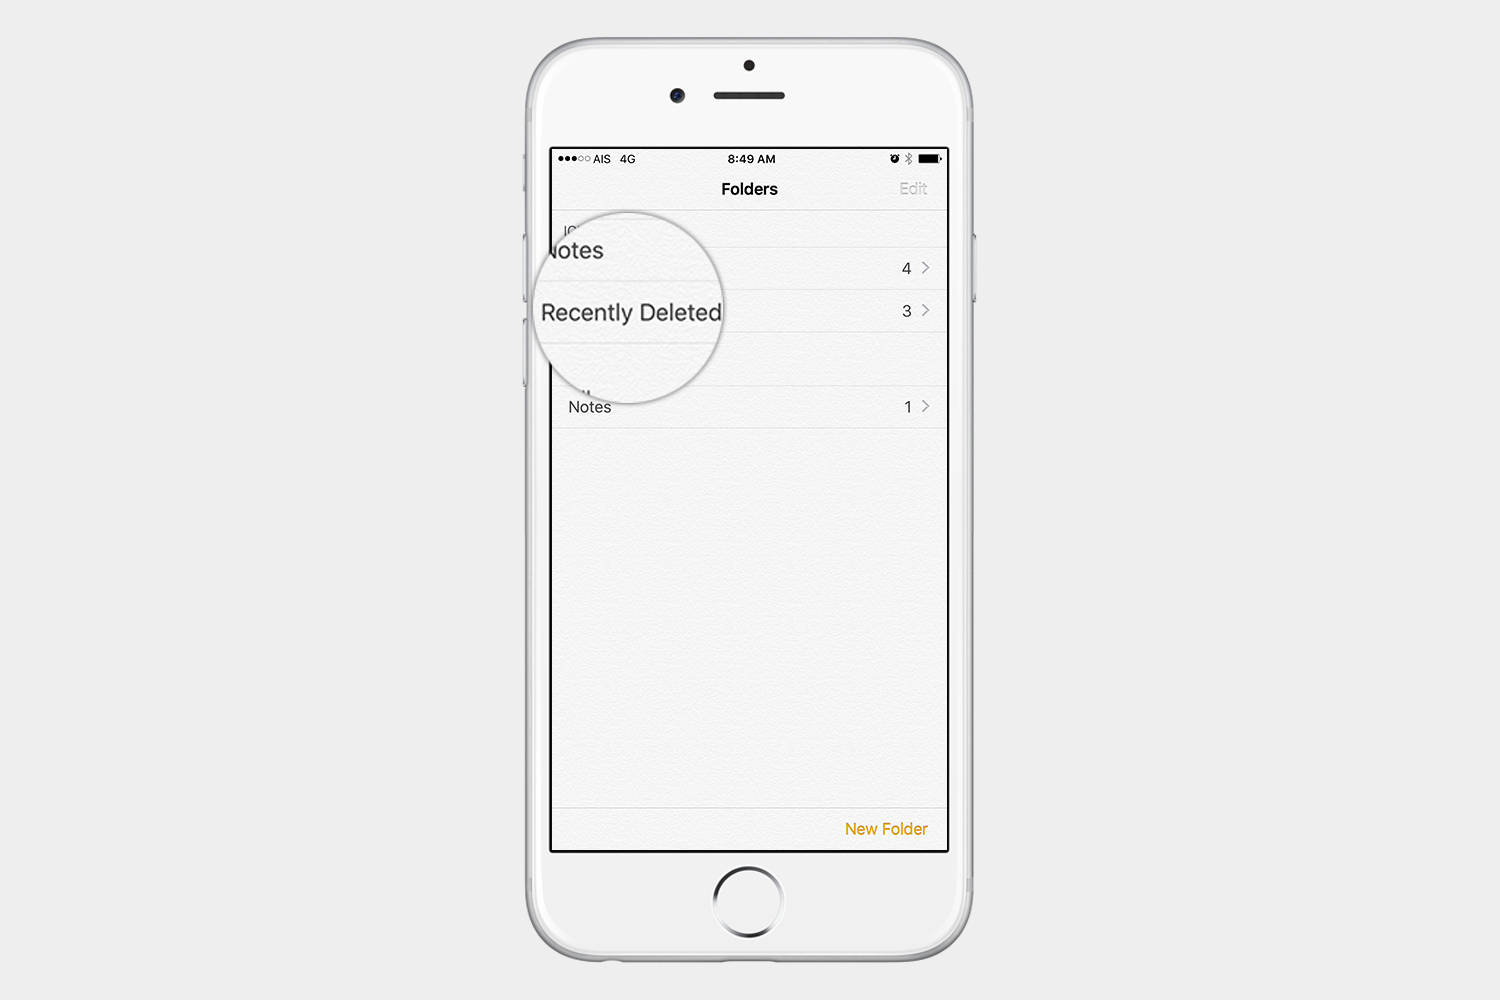
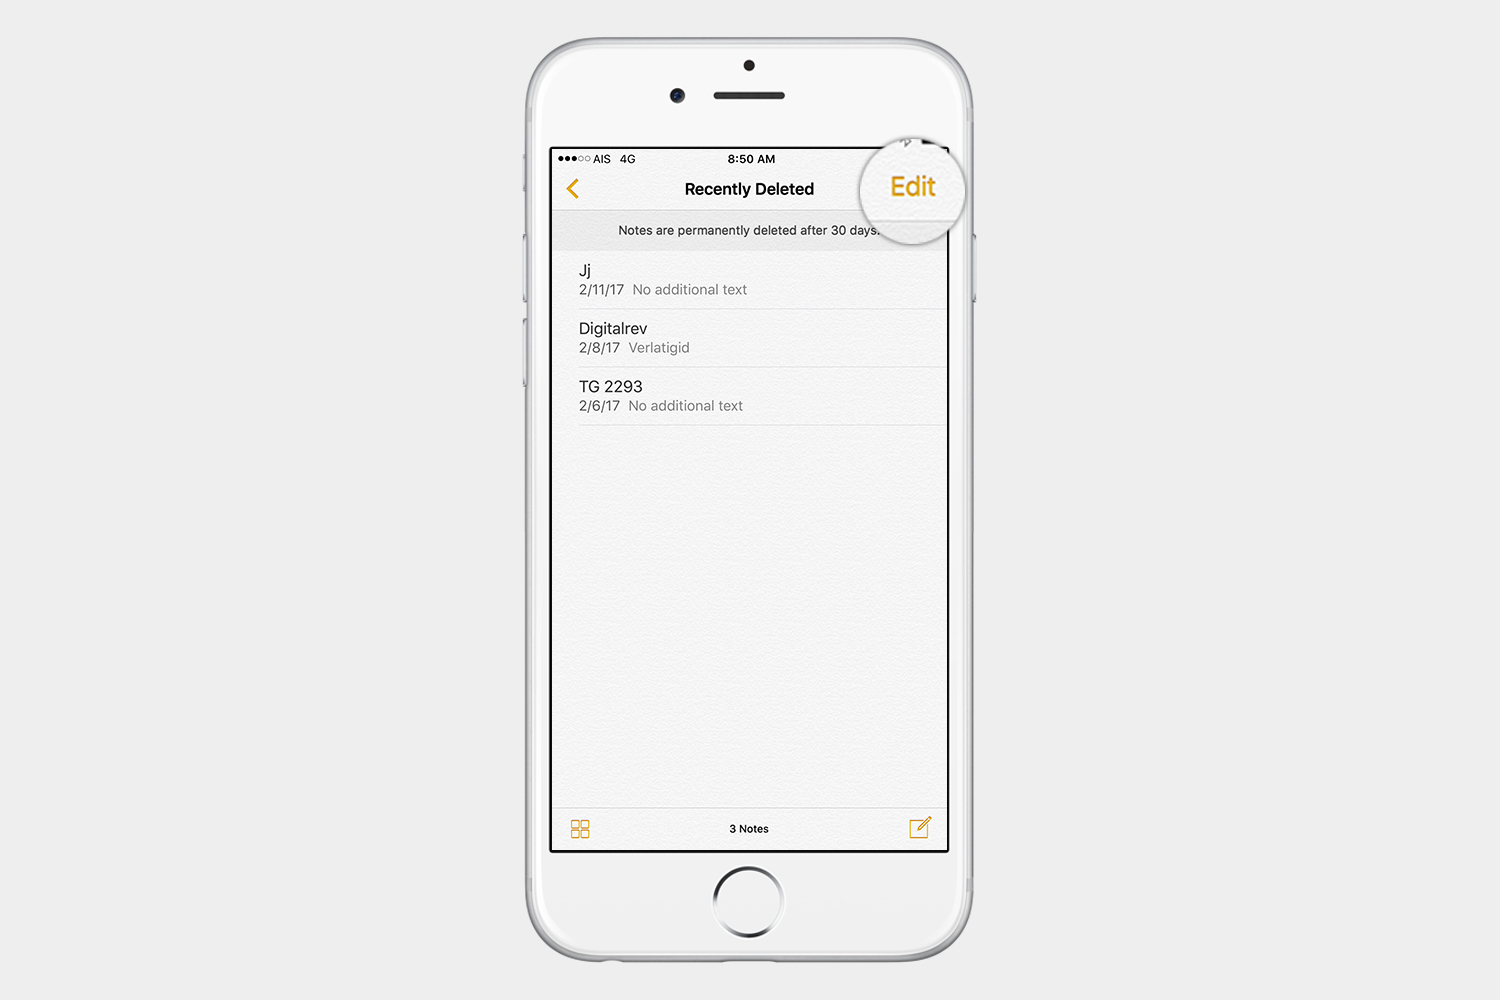
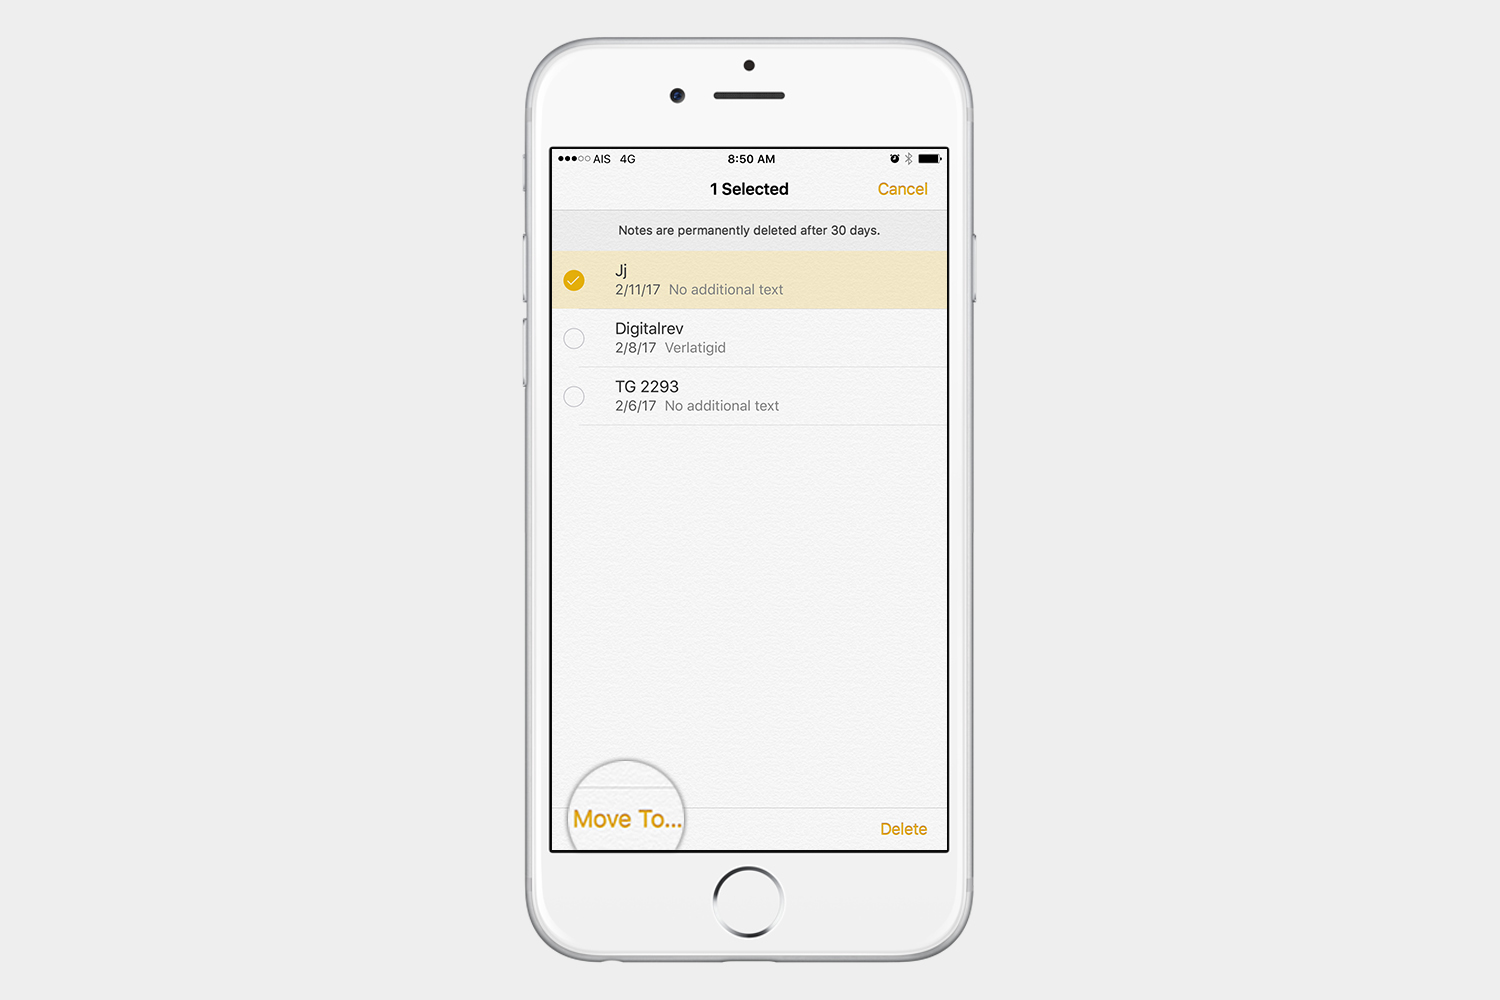

- Open the Notes app, and tap Recently Deleted from the account that you want to recover.
- Tap Edit in the upper-right corner.
- Select the notes you want to recover.
- Tap Move To in the lower-left corner.
- Select the folder that you want to move the note to.
Bringing back your notes from iCloud
If you’re trying to recover all your notes after you’ve erased your iPhone or bought a new device, make sure that iCloud is turned on in Settings.
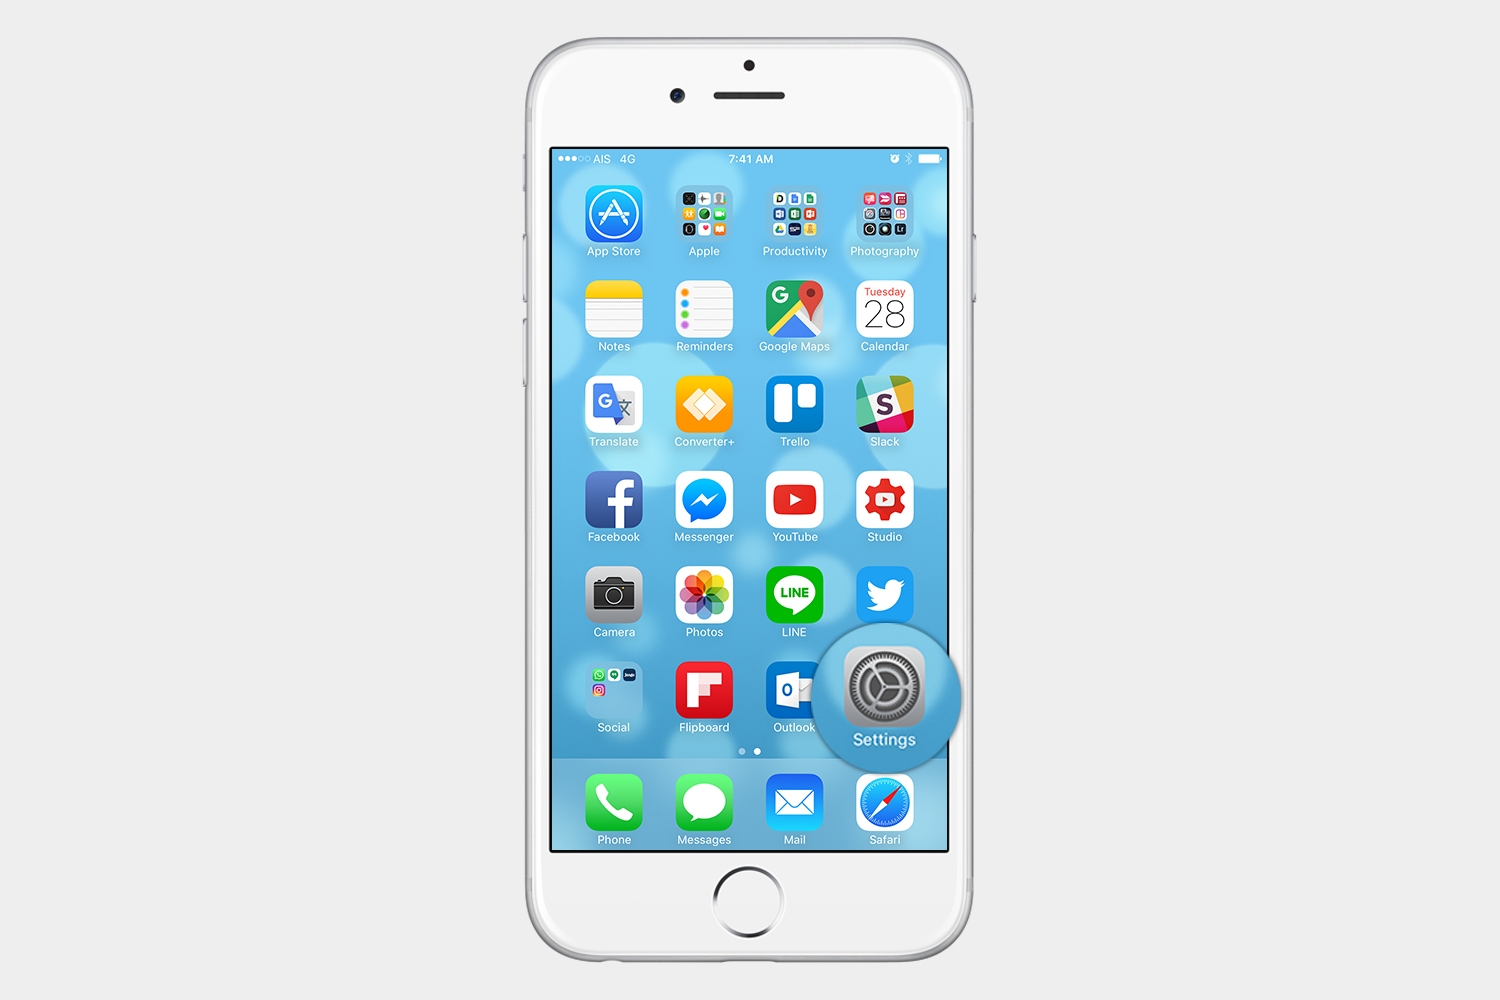
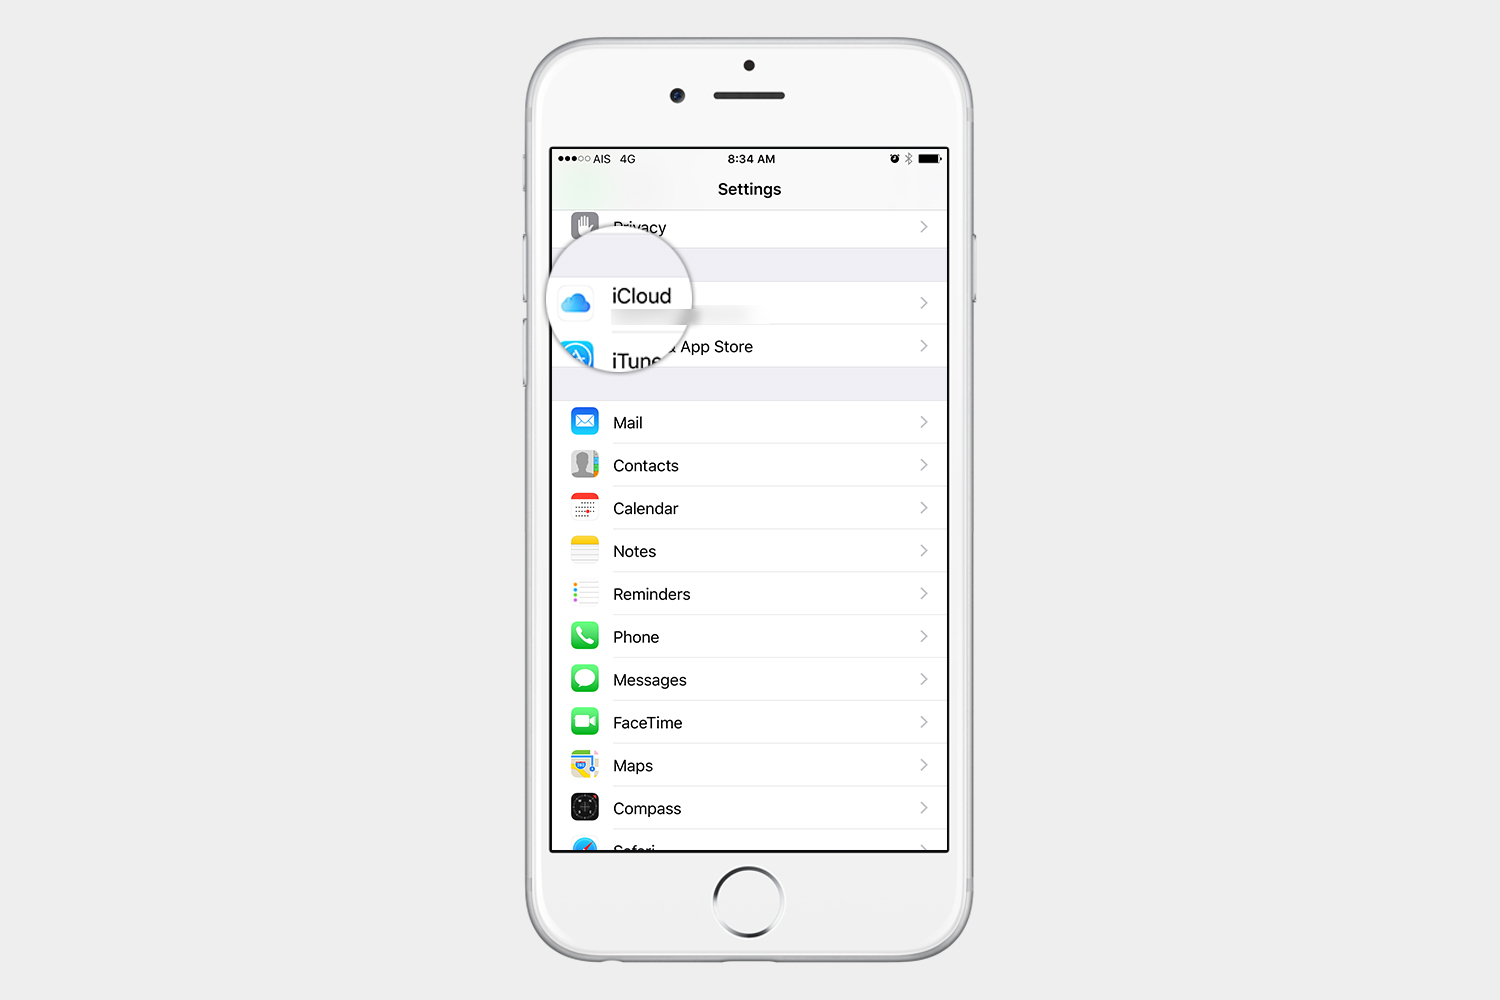
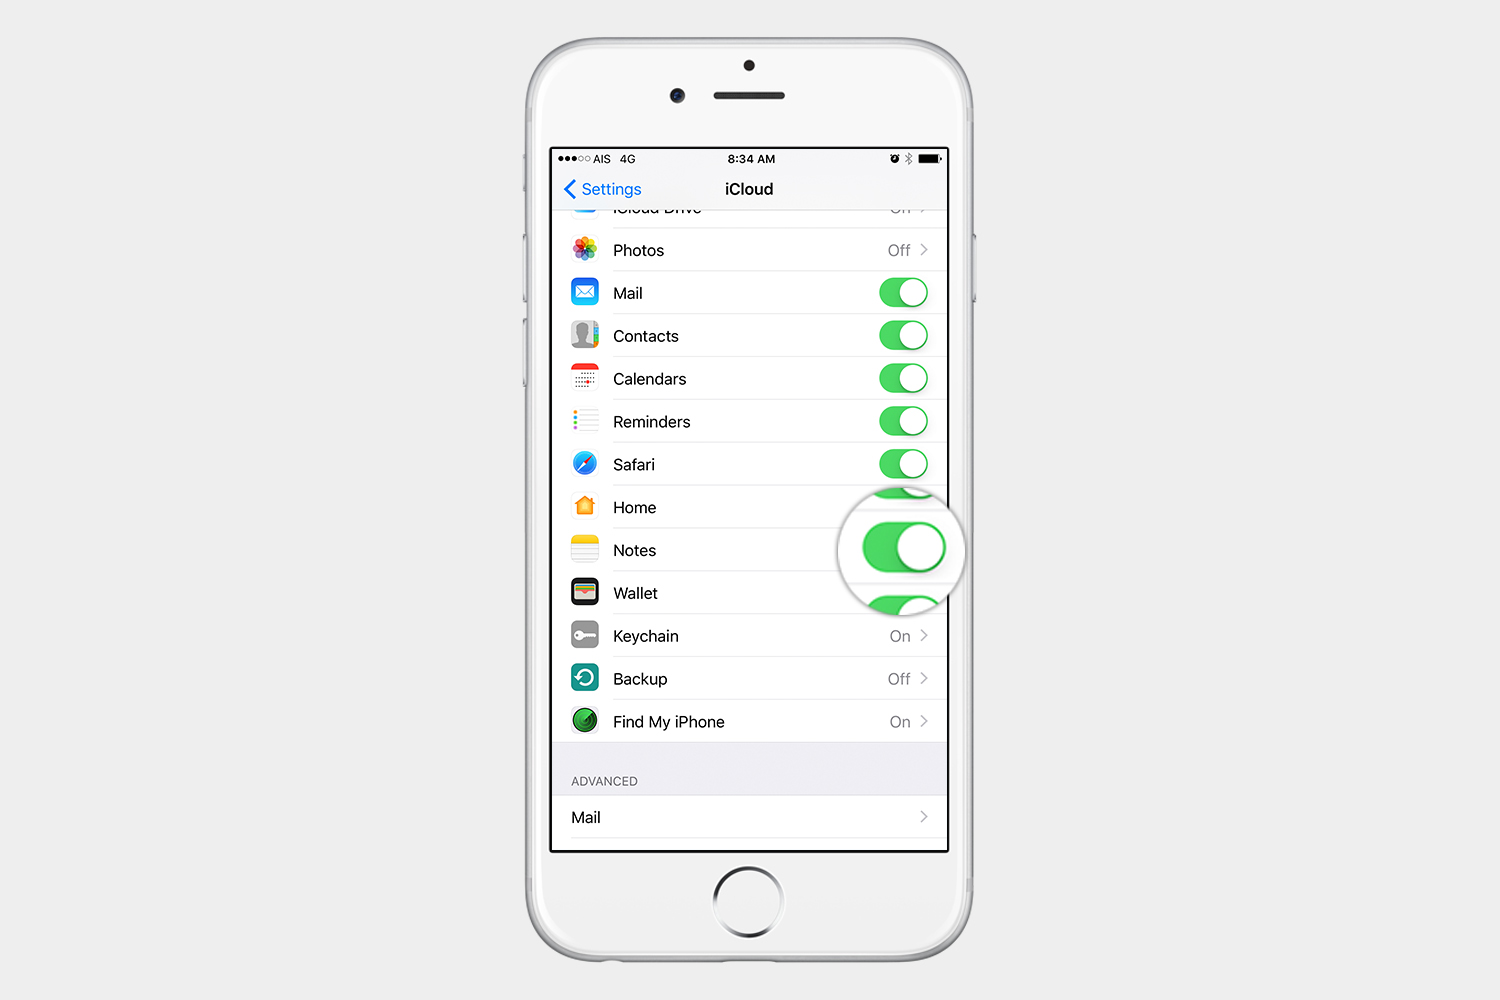
- Go to Settings > iCloud.
- Scroll down to Notes, and make sure it is turned on.
Bringing back your notes from other accounts
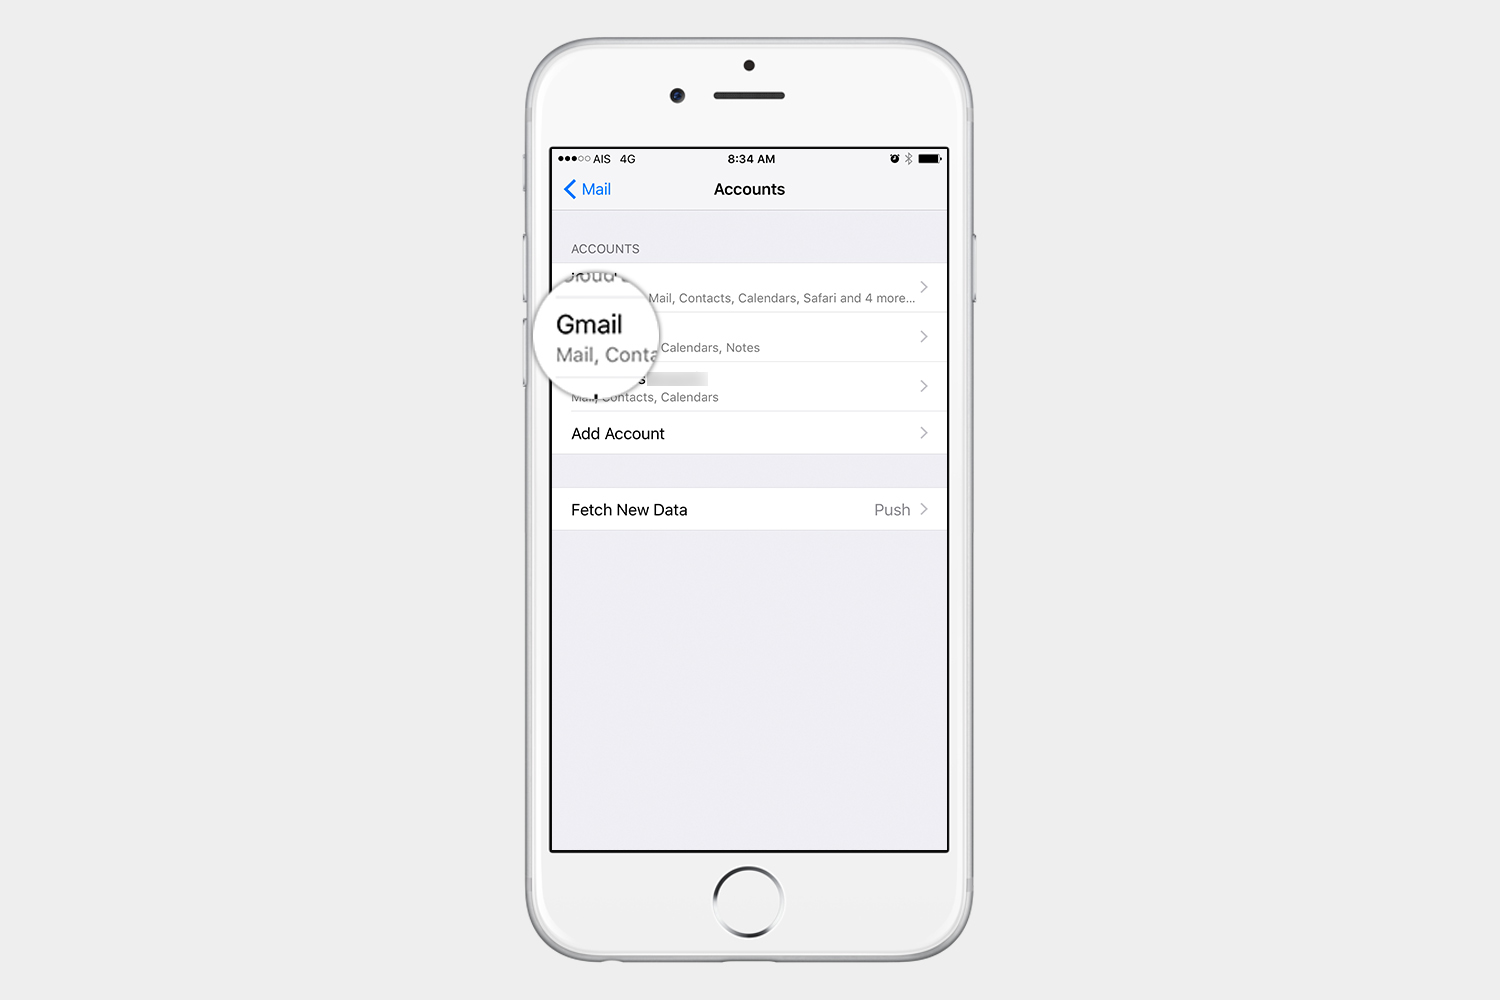
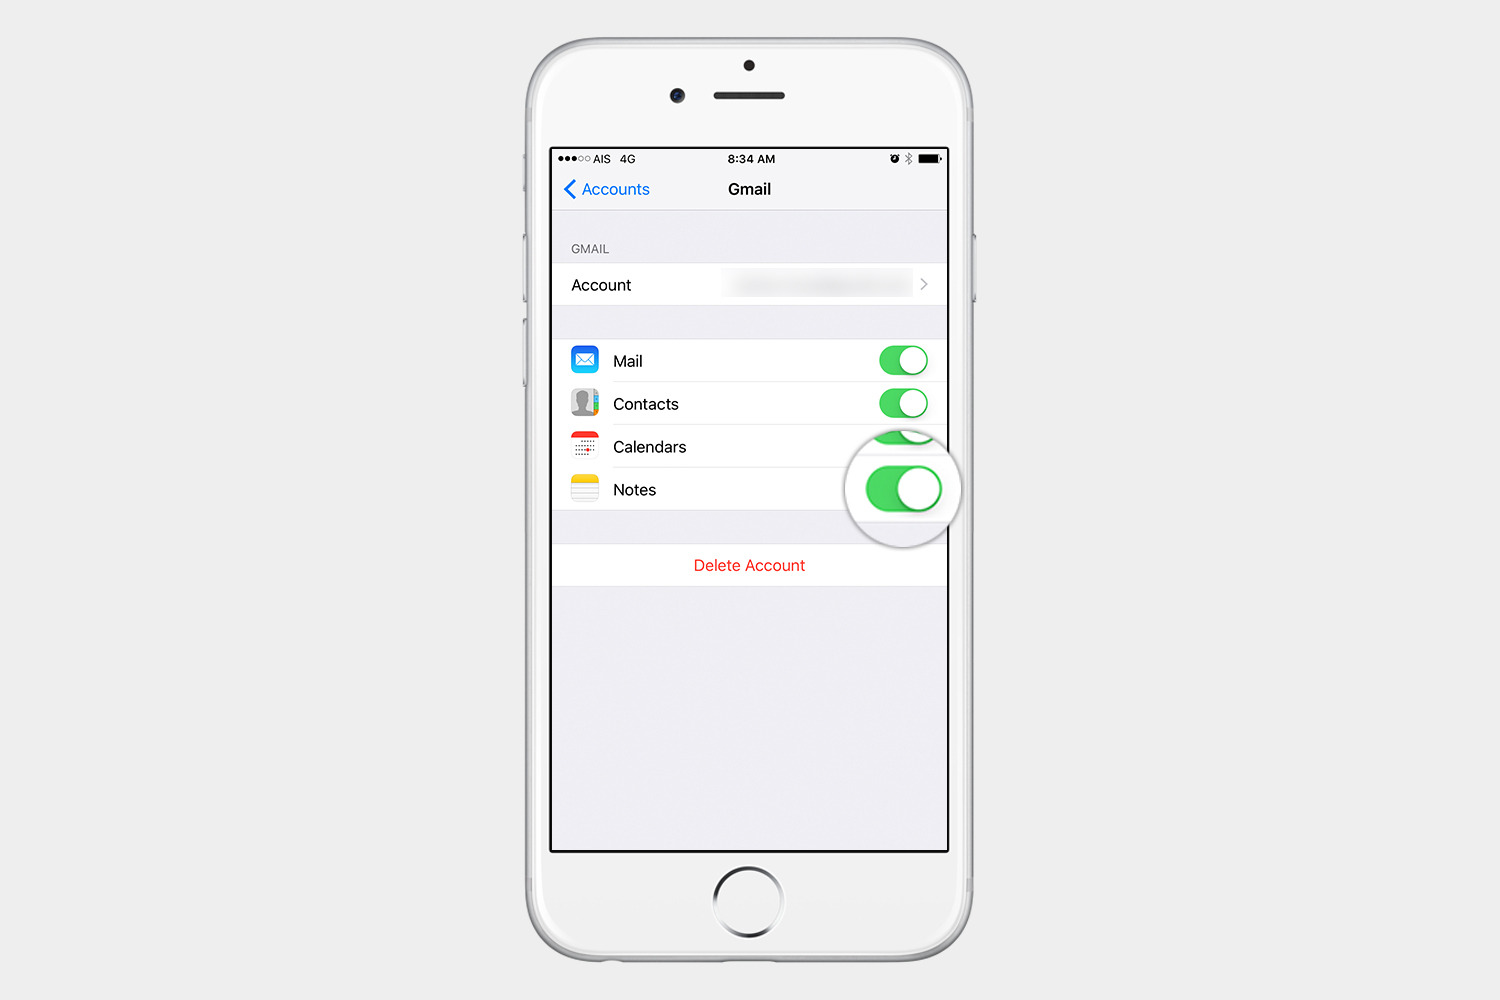
You may have created Notes using your Gmail account — or another account — meaning your Notes may be synced with that account, instead of your iCloud account. If this is the case, your notes will not appear in the Notes app until you set up all your accounts again. That said, here’s how to ensure that Notes is turned on in a Gmail account.
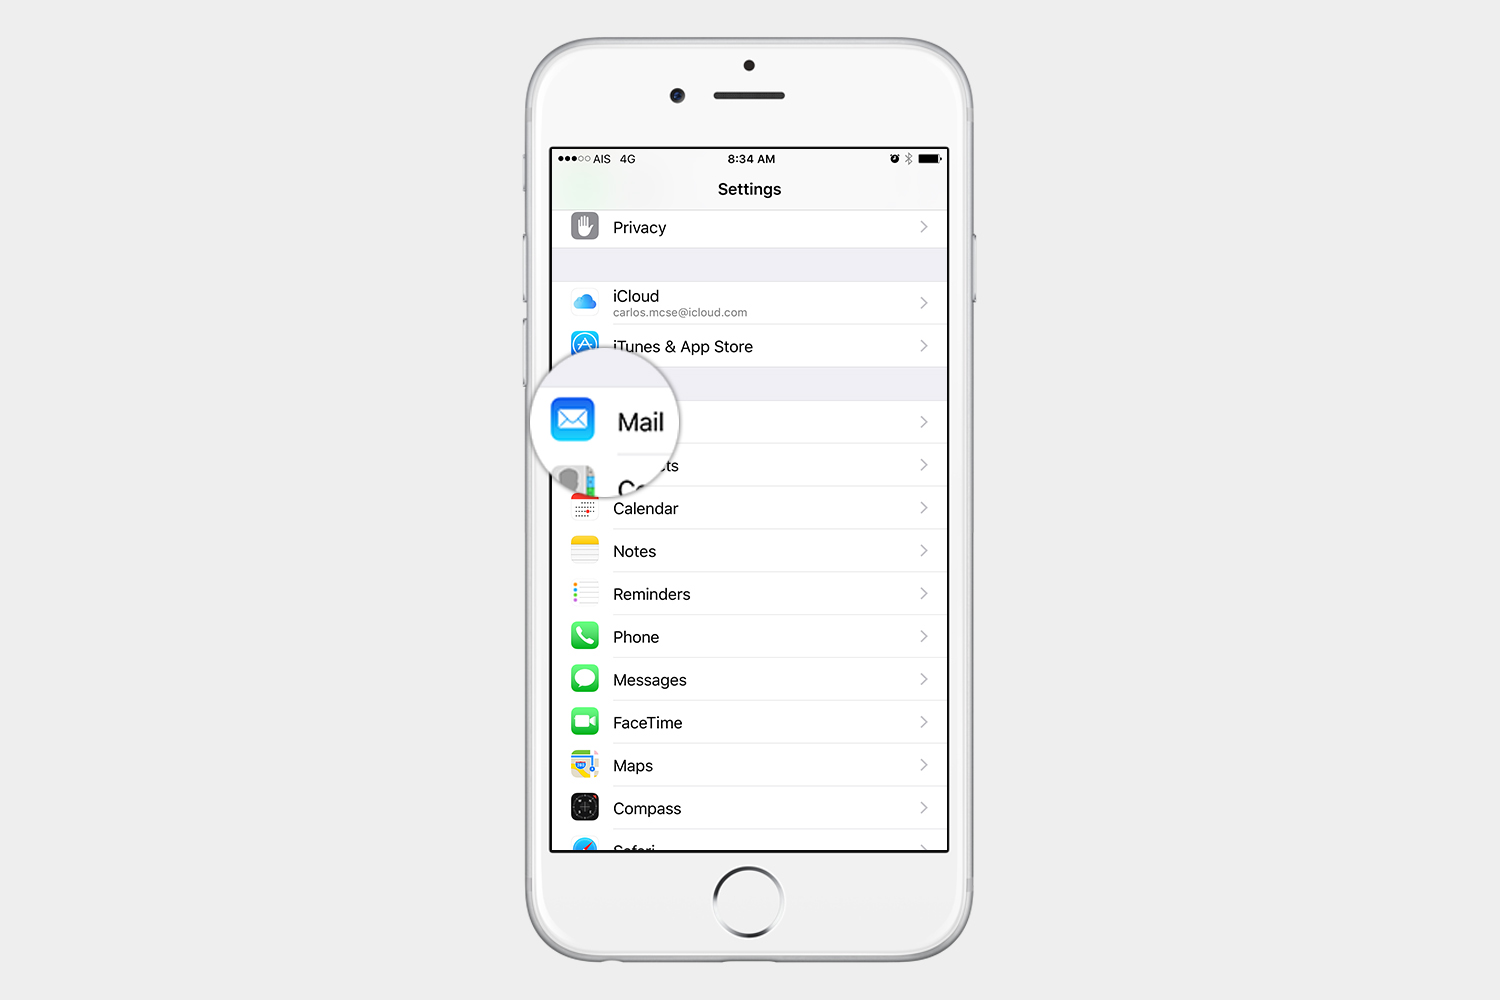

- Go to Settings > Mail > Accounts.
- Select the account, or if you only have iCloud set up, take the time to add your other email accounts.
- Once you select or add an account, make sure Notes is turned on.
Using iTunes to restore notes from a backup

If you regularly back up your data with iTunes, then your notes and other data should be backed up to your computer. Thankfully, you can restore your media from a preexisting backup. Because you are restoring your entire iPhone from a backup, however, the notes that will appear on your iPhone are the notes that were on your iPhone on the day of the backup. Any notes you’ve saved since then may disappear, though you can always restore them using a backup from a previous day.
- Open iTunes on your computer.
- Plug in your iPhone, and in the Summary tab, choose Restore Backup.
We recommend using a cloud service to keep a complete backup of every note you take. See the previous steps if you want to ensure Notes is turned on for iCloud, and your other accounts.
Using a third-party app
If your notes have been permanently deleted from your Notes app, and you can’t recover them using iCloud or any other app, then your only other option would be to go with a third-party app. These apps are great when you need to recover your texts, notes, contacts, and other types of media. Some of them can even repair various iOS issues. Below are a few of our favorites.
iMobie Phone Rescue ($60+)

Phone Rescue will allow you to recover a number of media files, including your notes. What sets this program apart, however, is that it allows you to recover data from your iCloud account, in addition to your iTunes and device backups. The app also has a number of repair tools, which let you recover your device when it crashes or experiences errors.
Wondershare Dr.Fone ($70+)

This recovery tool is compatible with the latest iOS devices, and you can install the program on both MacOS and Windows-based machines. The software will allow you to quickly recover notes, as well as photos, videos, and even data from other apps like WhatsApp.
Tenorshare Ultdata ($50+)

Like other recovery apps, this app will let you recover notes, messages, media, and other various types of data. It also allows you to recover your iPhone when it’s stuck in recovery mode, or when it fails to install the latest iOS update.
Editors' Recommendations
- Google is making it easier to ditch your iPhone for an Android phone
- Here’s how iOS 18 could change the way you use your iPhone
- Apple offers peek at how it stress tests the iPhone
- Arc Search, one of the best iPhone apps right now, just got even better
- iPhone SE deals: Refurbished 2nd and 3rd Gen iPhones


