While Macs are generally more secure than their Windows cousins, that does not mean they are totally invulnerable. In fact, the extra security you get with a Mac could mean you do not take as much care with your private data as you should, thus inadvertently putting yourself at risk.
To help combat that, we have put together a guide to tightening up your Mac security. Even if you consider yourself a privacy aficionado, the chances are you could be making at least one of these mistakes. If you want to strengthen your Mac security and keep your private data safe, read on to see how you can fix things up for good.
Install a robust antivirus app

MacOS has a lot of built-in security features, from Gatekeeper to app sandboxing, all of which limit the damage bad actors can do to your computer. Aren’t these enough to keep you safe? According to the experts, the answer is no.
While Apple has done a stellar job of making it hard for malware to infect your Mac, there are chinks in its armor that can be exploited. Installing a good antivirus app adds an extra layer of security with little to no impact on your Mac’s performance. You do not even have to pay a penny, as there are plenty of excellent free options for you to choose from. Don’t drag your heels on this one — you will regret it if malware destroys or steals your precious data.
Secure your login details

Many of us only have one user account on our Macs. After all, if we are the only person using the computer, we should be able to log straight in as soon as the Mac loads up with no need for a password, right?
Wrong. Leaving your main account without a password means anyone who has access to your Mac can jump straight in and grab your data. Even worse, if your main account has admin rights, they have even more power to wreak havoc.
Fortunately, there are a few simple steps you can take. Open System Preferences and click Users & Groups, then your username on the left, then click Change Password. Once you are done, click Login Options in the bottom-left corner. At the top of the window, turn off automatic login. Go back to the main System Preferences menu, click Security & Privacy, then click the General tab. Tick the checkbox next to Require password and select immediately from the dropdown menu.
You should also create a Guest user account. This is a restricted account that cannot change system settings or install software but is useful if your friend wants to quickly borrow your Mac. Go to Users & Groups in System Preferences, click the padlock and enter your password, then tick the checkbox to allow guests to log in.
Finally, if you have an Apple Watch or a Mac with a Touch ID button, use those to sign in. They are much more secure than a password and easier to use as well.
Take the pain out of passwords

We are all guilty of it. With the number of accounts each of us has on the go, from online shopping to streaming services to Mac user accounts and everything in between, it is easy to get “password fatigue” and just start using the same easy-to-remember passwords for everything.
That is a problem, but an understandable one. But there is no need to struggle with complex passwords — use a password manager instead. Options like Dashlane, LastPass and 1Password can all generate super-safe passwords for you and store them in a secure vault that only you have access to. When it is time to fill out a password, the app does it for you, so there is no need to remember (or write down) your details. All you need to do is set a master password for your account and the app does the rest.
Lost your device? Here’s how to find it

It only takes one momentary lapse to lose a precious device. If it falls into the wrong hands and you have not secured your data, you could find yourself facing a privacy nightmare. That’s why it is so important to use Apple’s Find My app.
This handy piece of software can locate lost devices and help get them back into safe hands. It will even work if your Mac is asleep by using privacy-protecting anonymous data to crowd-source its location from other Apple devices.
To check if Find My is enabled on your Mac, go to Security & Privacy in System Preferences and turn on location services under the Privacy tab. Also, make sure Find My is also enabled.
Next, click Apple ID in System Preferences, click iCloud on the left, then enable Find My Mac in the list. Finally, click Options and ensure both Find My Mac and Offline Finding are switched on.
Lock down your location data

While we are on the topic of how your Mac uses your location, Apple gives you a lot of control over which apps can access this data and what they can do with it. After all, while it is reasonable for a weather app or Apple Maps to use your location, the same cannot always be said for something like a dictionary app.
Open System Preferences and navigate to Security & Privacy. Click Location Services on the left, then click the padlock in the lower left and enter your password. You can now browse the list on the right-hand side to see which apps have access to your location. To block an app, simply untick its checkbox. You can disable location services altogether at the top, although this will block Find My from working.
Don’t just install apps from anywhere
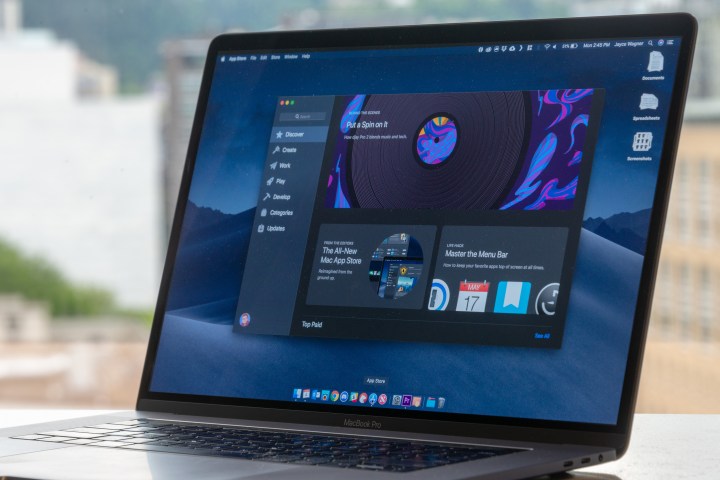
Unlike on iOS, you can download and install apps from anywhere on the Mac. However, that does not always mean it is a good idea. Whereas apps downloaded from the Mac App Store have undergone reviews by Apple to ensure their safety, the same cannot be said of all apps on the wider internet.
At the same time, the Mac App Store has a huge selection of apps and can almost certainly meet your needs without you needing to look elsewhere for software.
To limit apps from outside the Mac App Store, open System Preferences and click Security & Privacy. Under the General tab, click the padlock and enter your password. At the bottom of the window is a section titled Allow apps downloaded from. Make sure App Store is selected instead of App Store and identified developers — and you’re good to go.
Set up automatic updates

Keeping your Mac up to date is one of the easiest ways to ensure it stays safe and secure. Without enabling automatic updates, though, you not only find yourself late to the party when it comes to new app and MacOS features, but important security fixes too. And leaving an app unpatched that has a security flaw is a grave threat to your privacy.
To nip this problem in the bud, head to the Software Update section of System Preferences and enable Automatically keep my Mac up to date. Once you have done that, click the Advanced button for more options. Make sure all the checkboxes are ticked to guarantee you will get essential security fixes for MacOS as soon as they are released.
As for your programs, open the App Store app on your Mac, then click App Store > Preferences in the menu bar. At the top of the preferences window, click the tick next to the Automatic Updates checkbox. This will ensure you never miss an important app update.


