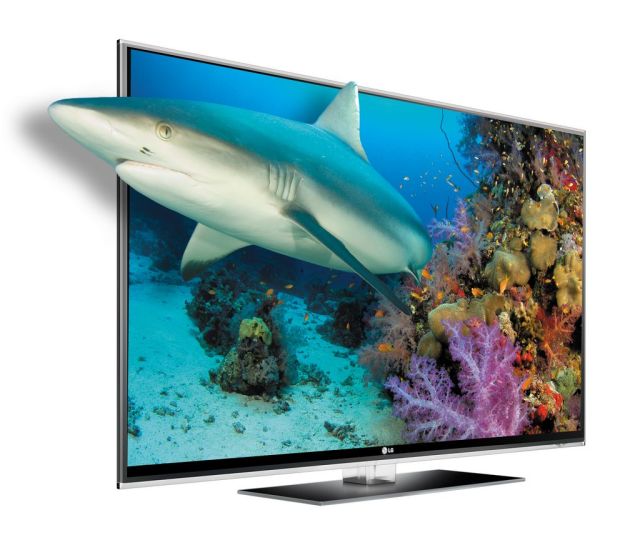
With the rise of 3D in the movie industry in the last couple of years we’ve seen an influx of 3D capable televisions from all of the major TV producers. For some there might be some confusion on how to get their new 3D-capable sets to display 3D images. We’ll show you how only a few simple steps.
A couple of notes before we begin:
– You need to be watching 3D content to make the 3D TV work. An example of this includes a 3D Blu-ray disc, which is labeled differently since it is different from a regular Blu-ray disc.
– There are a few glasses-free 3D TVs hitting the market but not enough to let you watch the 3D without the glasses. Make sure you have enough to go around.
Alright, let’s get started:
1. You should verify that your television is 3D capable. Usually you can tell by looking at the logos on the TV or reading the manual or looking at the product packaging. You can also consult the manufacturer’s website.
2. You also need a 3D-capable peripheral like a 3D Blu-ray player or Sony’s Playstation 3.
3. Plug an HDMI port into the TV and the other end of it into the 3D peripheral.
4. Turn on the TV and the peripheral.
5. Use the “Input” or “Source” on the remote for the TV. Select the HDMI input port to which the 3D peripheral is attached. As an example, if you connected the cable to the “HDMI 1” port on the TV, you should select the “HDMI 1” option.
6. Use the remote for the peripheral to select the 3D content that you want to view.
7. Enjoy.


