Apple’s iOS software has a reputation for not being as customizable as Google’s Android, and while it’s true to a certain extent, there’s still quite a lot you can do to make the Home screen more useful, less cluttered, and give it a style that’s all yours. I use iOS every day and these are the five things I’ve done to make my iPhone unique to me and at the same time gain more usability.
Use separate wallpapers
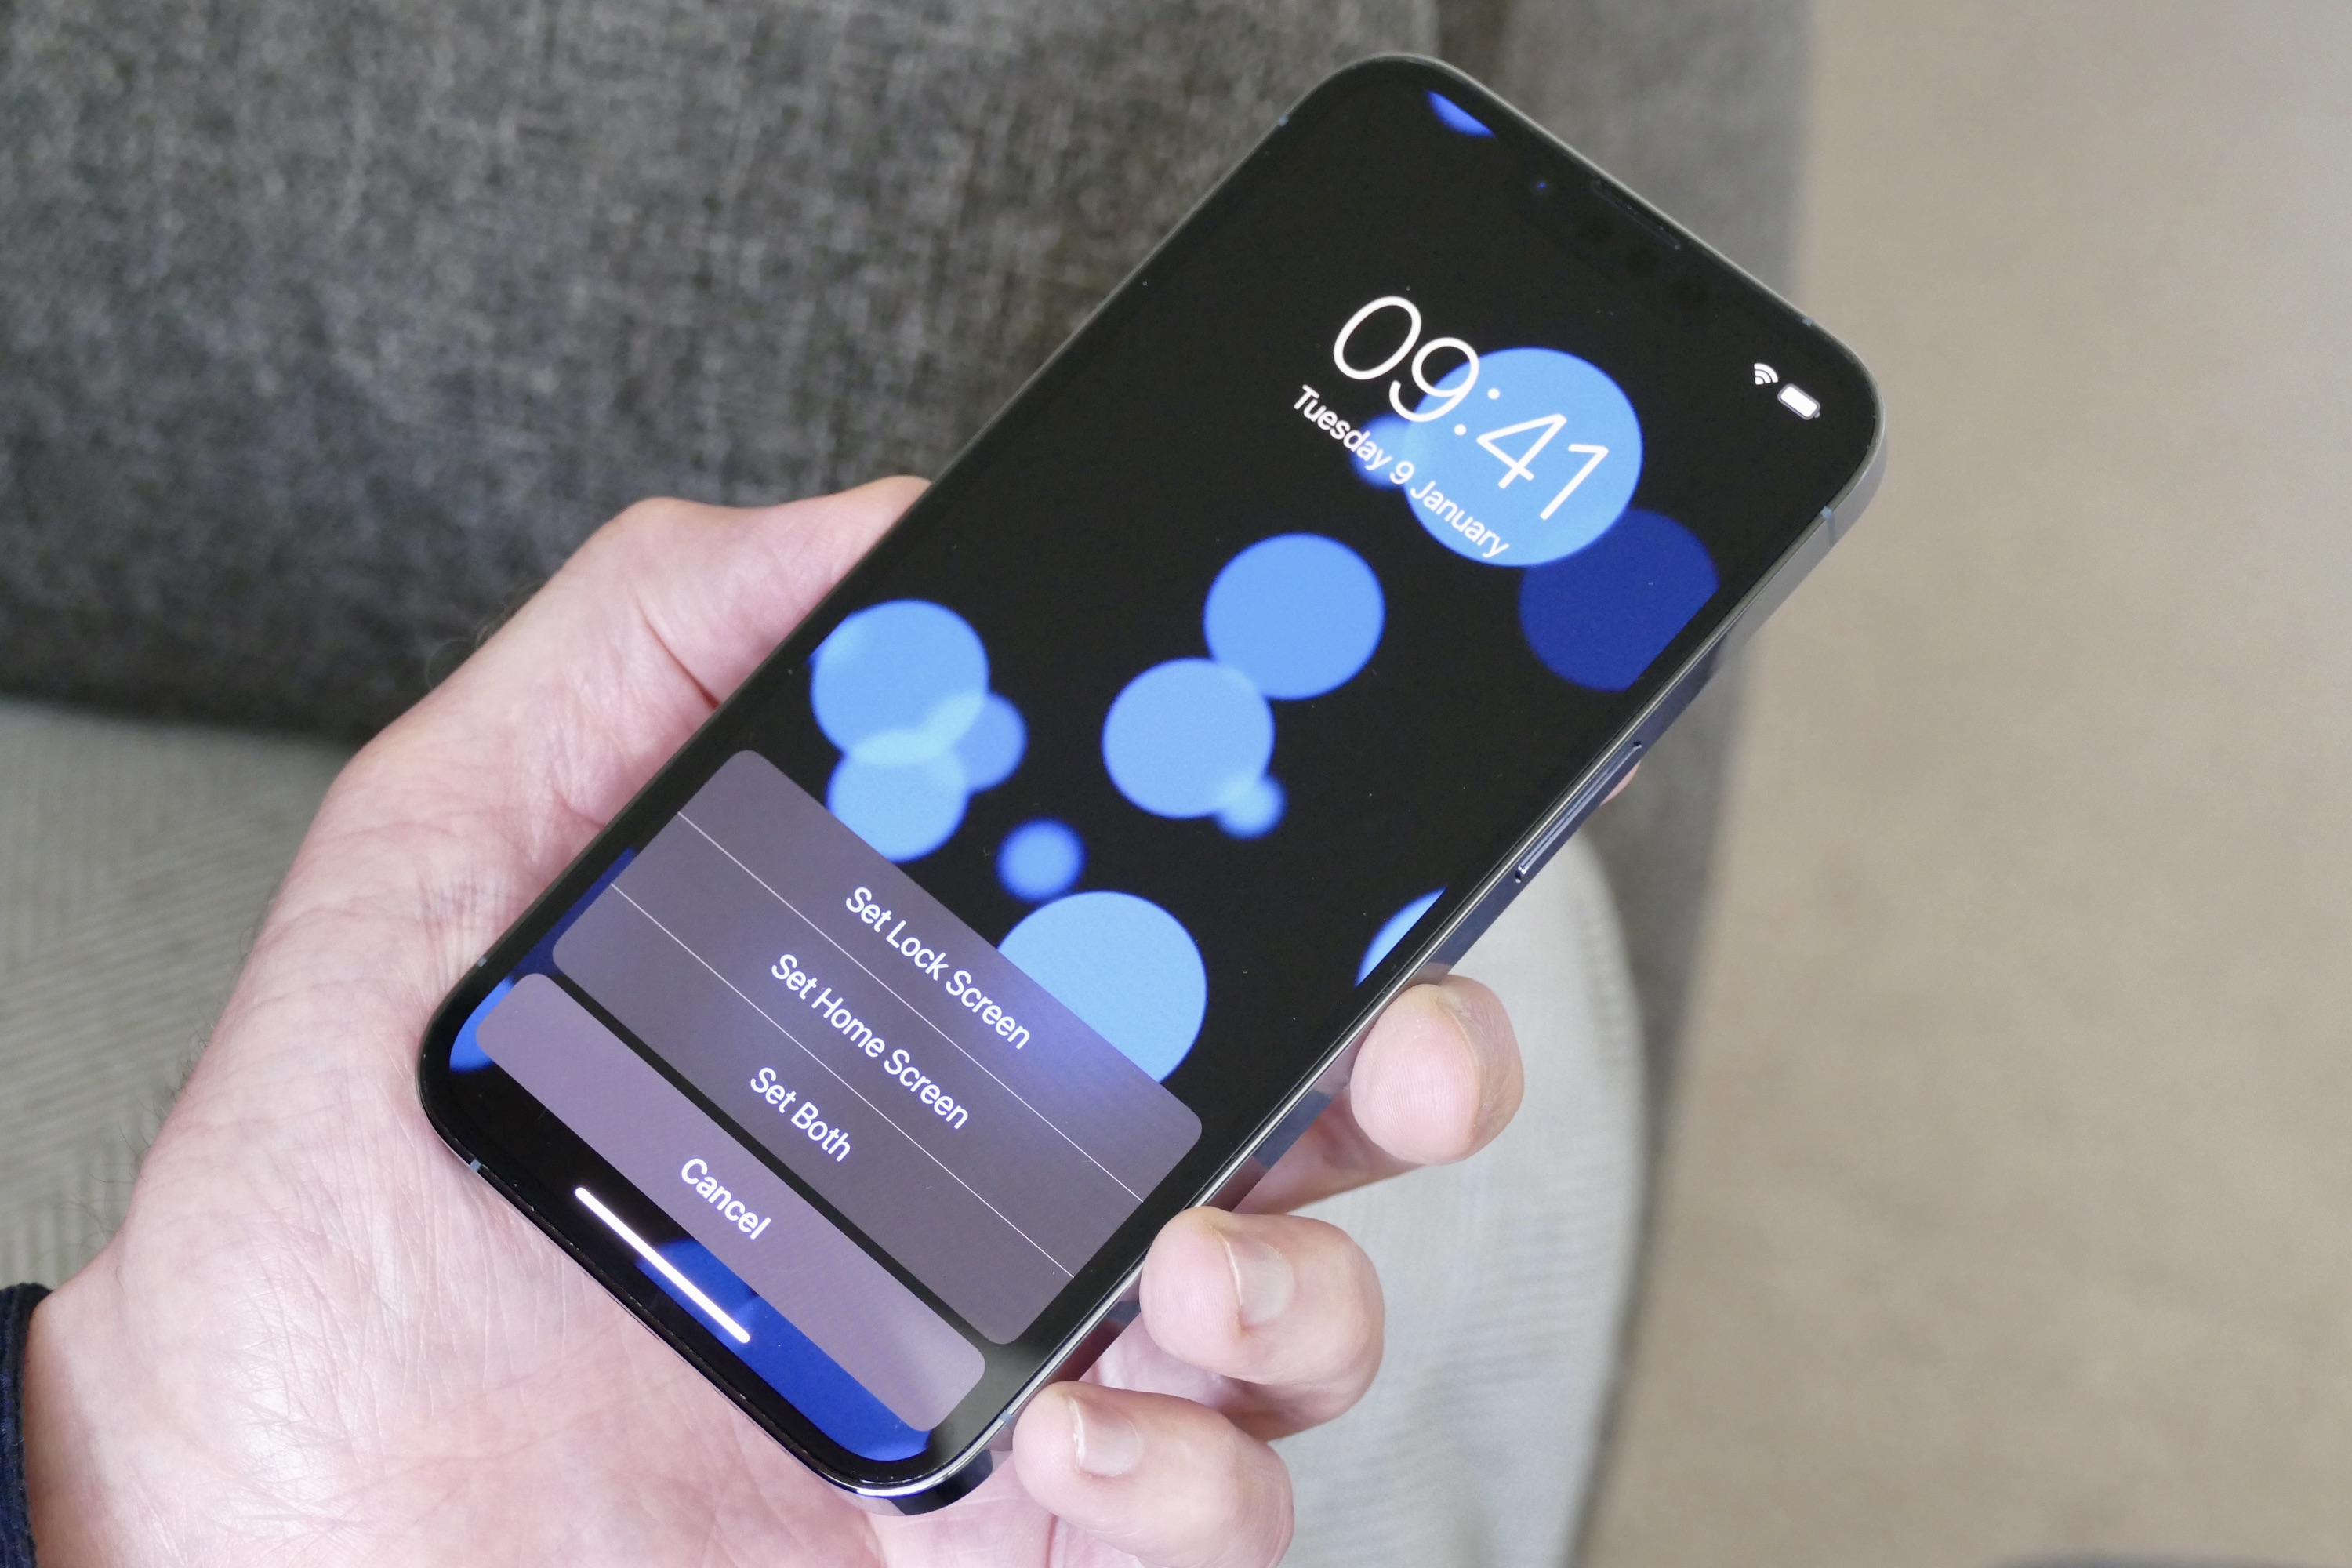
You don’t have to use the same wallpaper for the lock screen as you do the Home screen, and vice versa. Although it may sound like a small thing, it makes a big difference to legibility. I like this because it allows me to highlight a picture on the lock screen, without it interfering visually with the many colorful app icons that appear on the Home screen.
My recommendation is to use a black, or a close-to-black, background for the Home screen. Go to Settings, then Wallpaper, and select Choose a New Wallpaper. I like to use one of the Dynamic wallpapers, as it adds life to the Home screen but is never distracting. Select Dynamic then your image of choice. Select the Set button at the bottom of the screen and then Set Home Screen. Follow the same basic steps to set your lock screen wallpaper — just choose a different image and select Set Lock Screen instead.

If app icons have ever got lost due to blending in with the color of your wallpaper, this is an easy way to avoid it happening again. Plus, there’s something classic and appealingly minimalist about a basic background behind all your apps.
Make a lot of folders
Folders are a fantastic way to declutter your Home screen, and in conjunction with the next tip, make your iPhone feel less busy, due to iOS spreading app icons across multiple Home screens by default. If this is the first time you’re going to seriously use folders, be prepared for it to take a little while to get everything organized.

Creating a folder is simple: You select and drag an app icon over the top of another. When the folder automatically appears, select it and edit the name. Grouping apps together like this makes it easier to find what you want. I put folders of my most used apps on the main Home screen and lesser-used ones on a second Home screen.
It can be tempting to put all your apps in folders, but resist this and keep a small selection of your most used apps out and separate. I have five on the Home screen outside folders, as I use them multiple times a day, or in the case of Settings, because I want to find it quickly.
Use App Library
What if you have a lot of apps? This is where you need to be strict with yourself and make use of iOS’s App Library feature. I limit my Home screens to two and fill the second one with apps I don’t use all that often but would still like to have at hand. The remaining apps that I don’t want to delete find a home in the App Library.
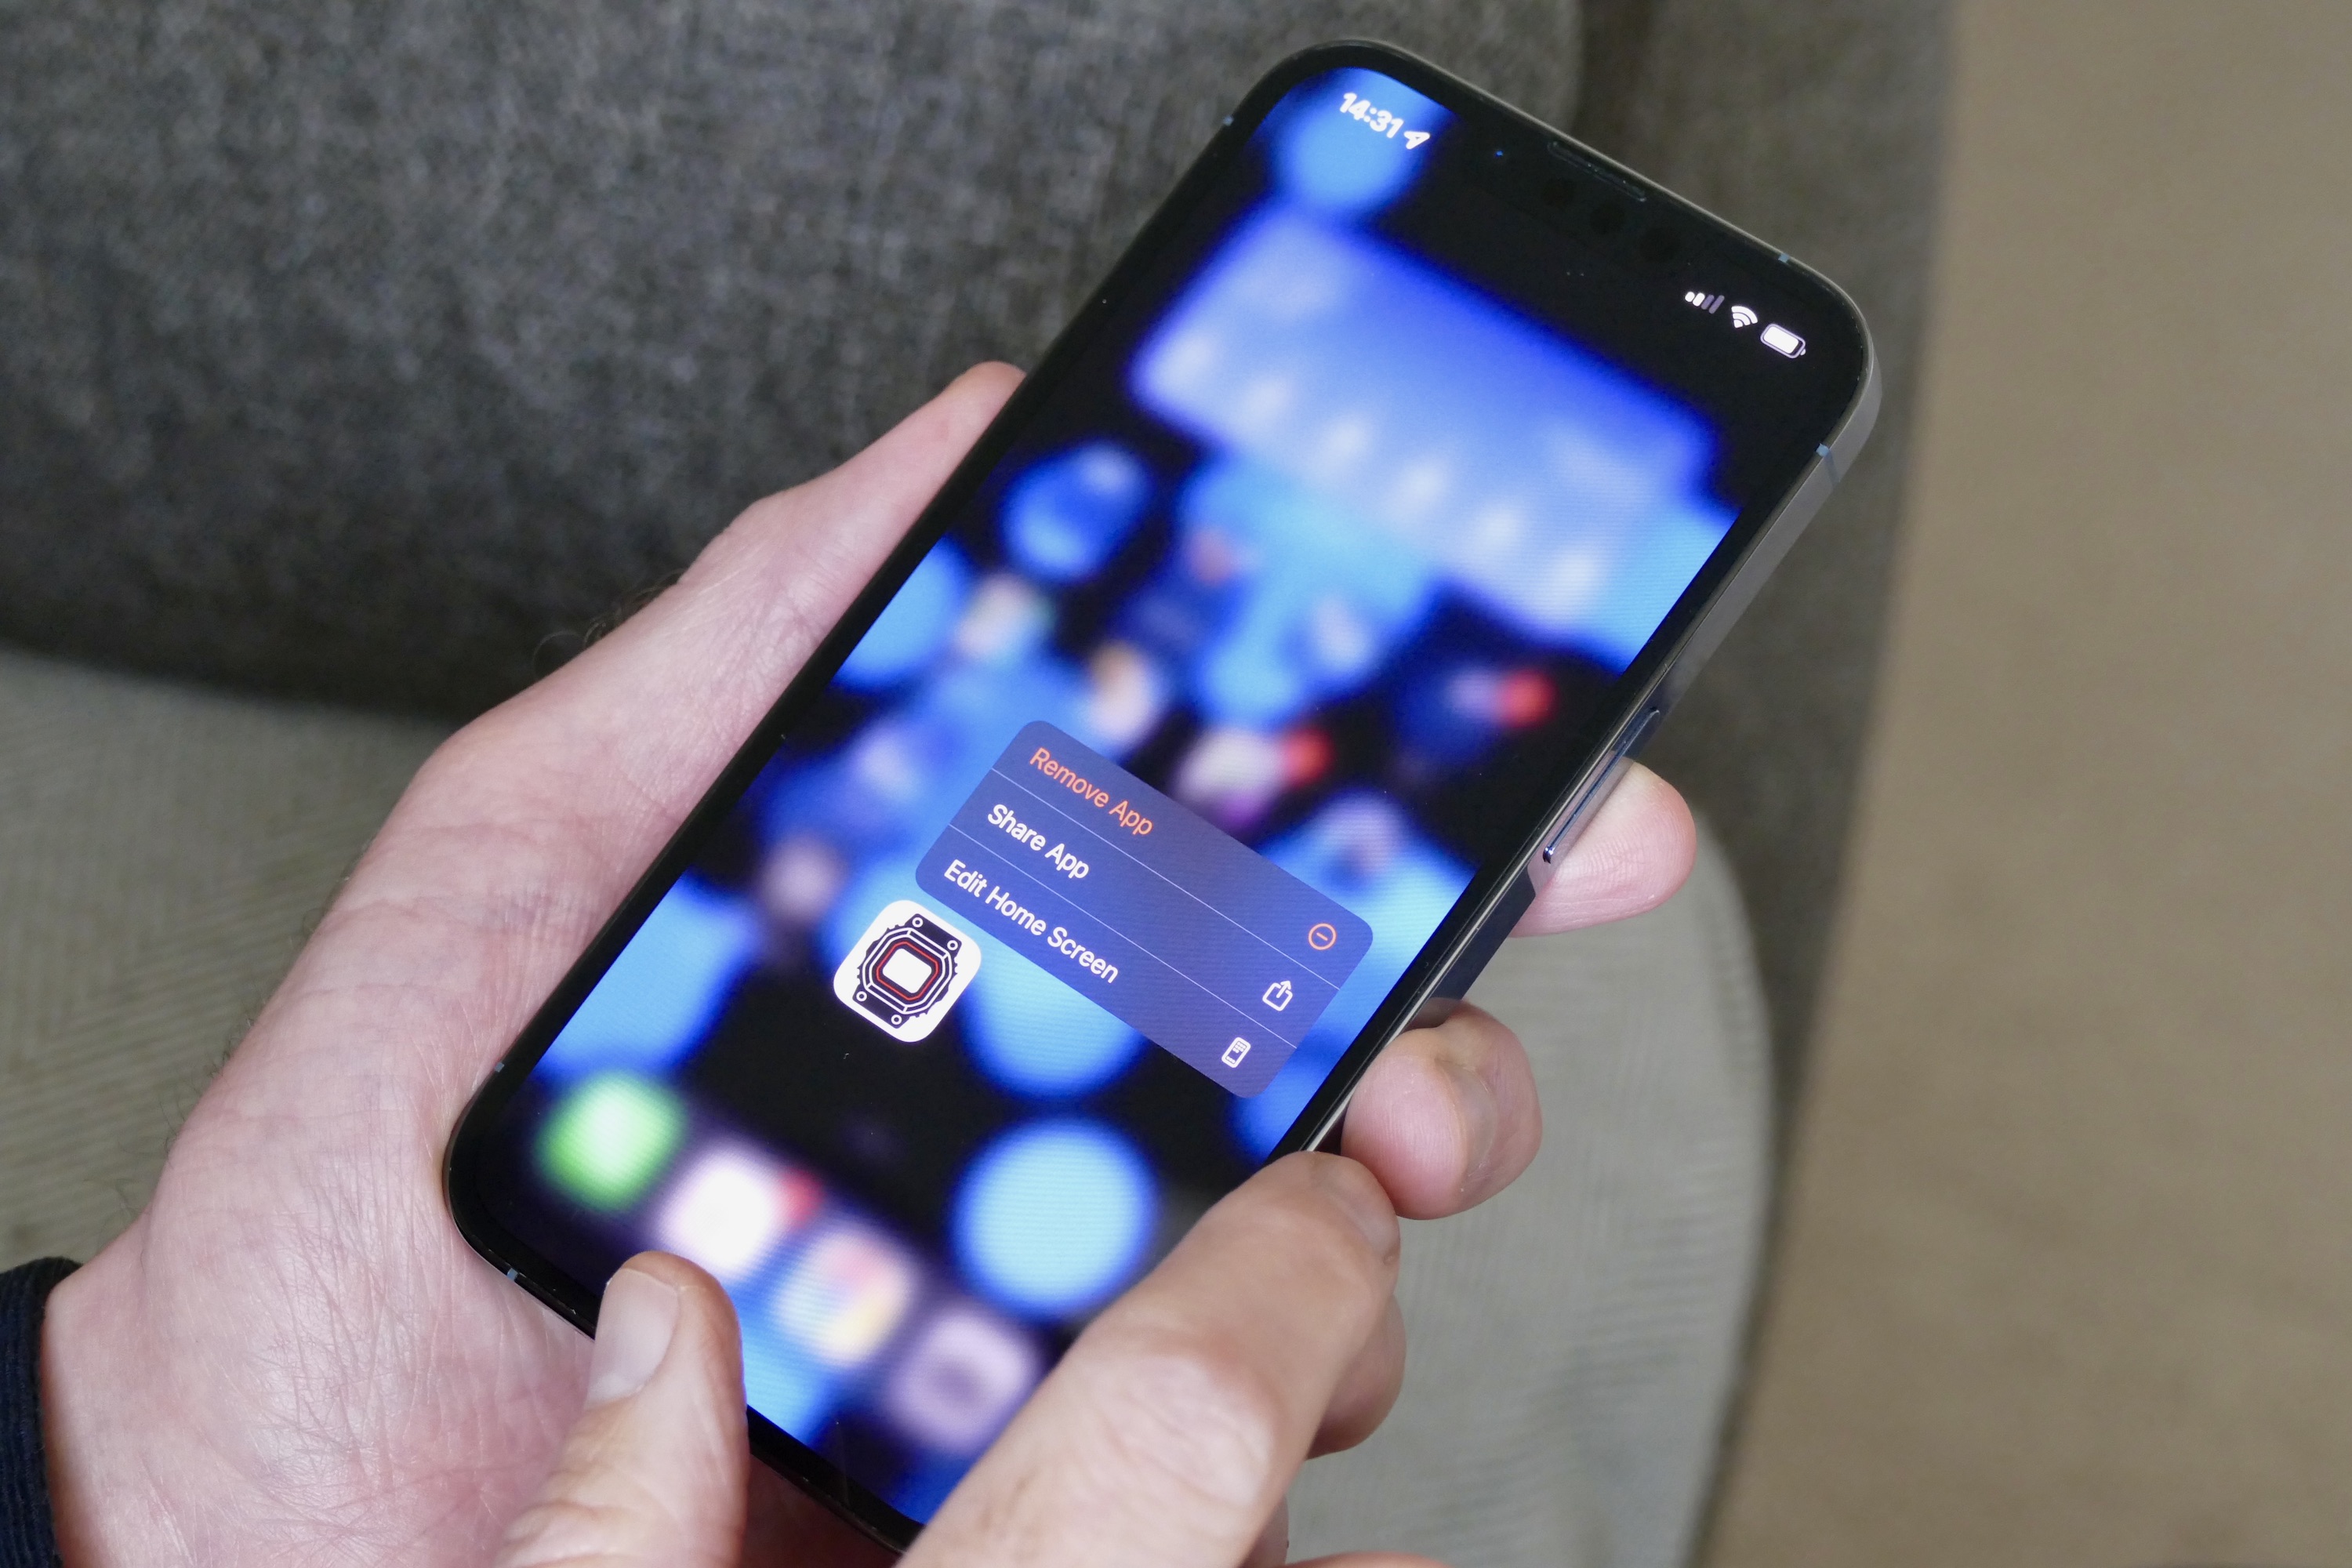
Minimizing the amount of Home screens makes iOS less cluttered and easier to manage, and using App Library makes finding the apps you don’t use often much faster. Plus, none of it needs effort to set up. Here’s an example of what to do: During the process of reorganizing your Home screens, find an app that you don’t want to delete but rarely use. Press and hold the icon until it wobbles, then select Remove App.
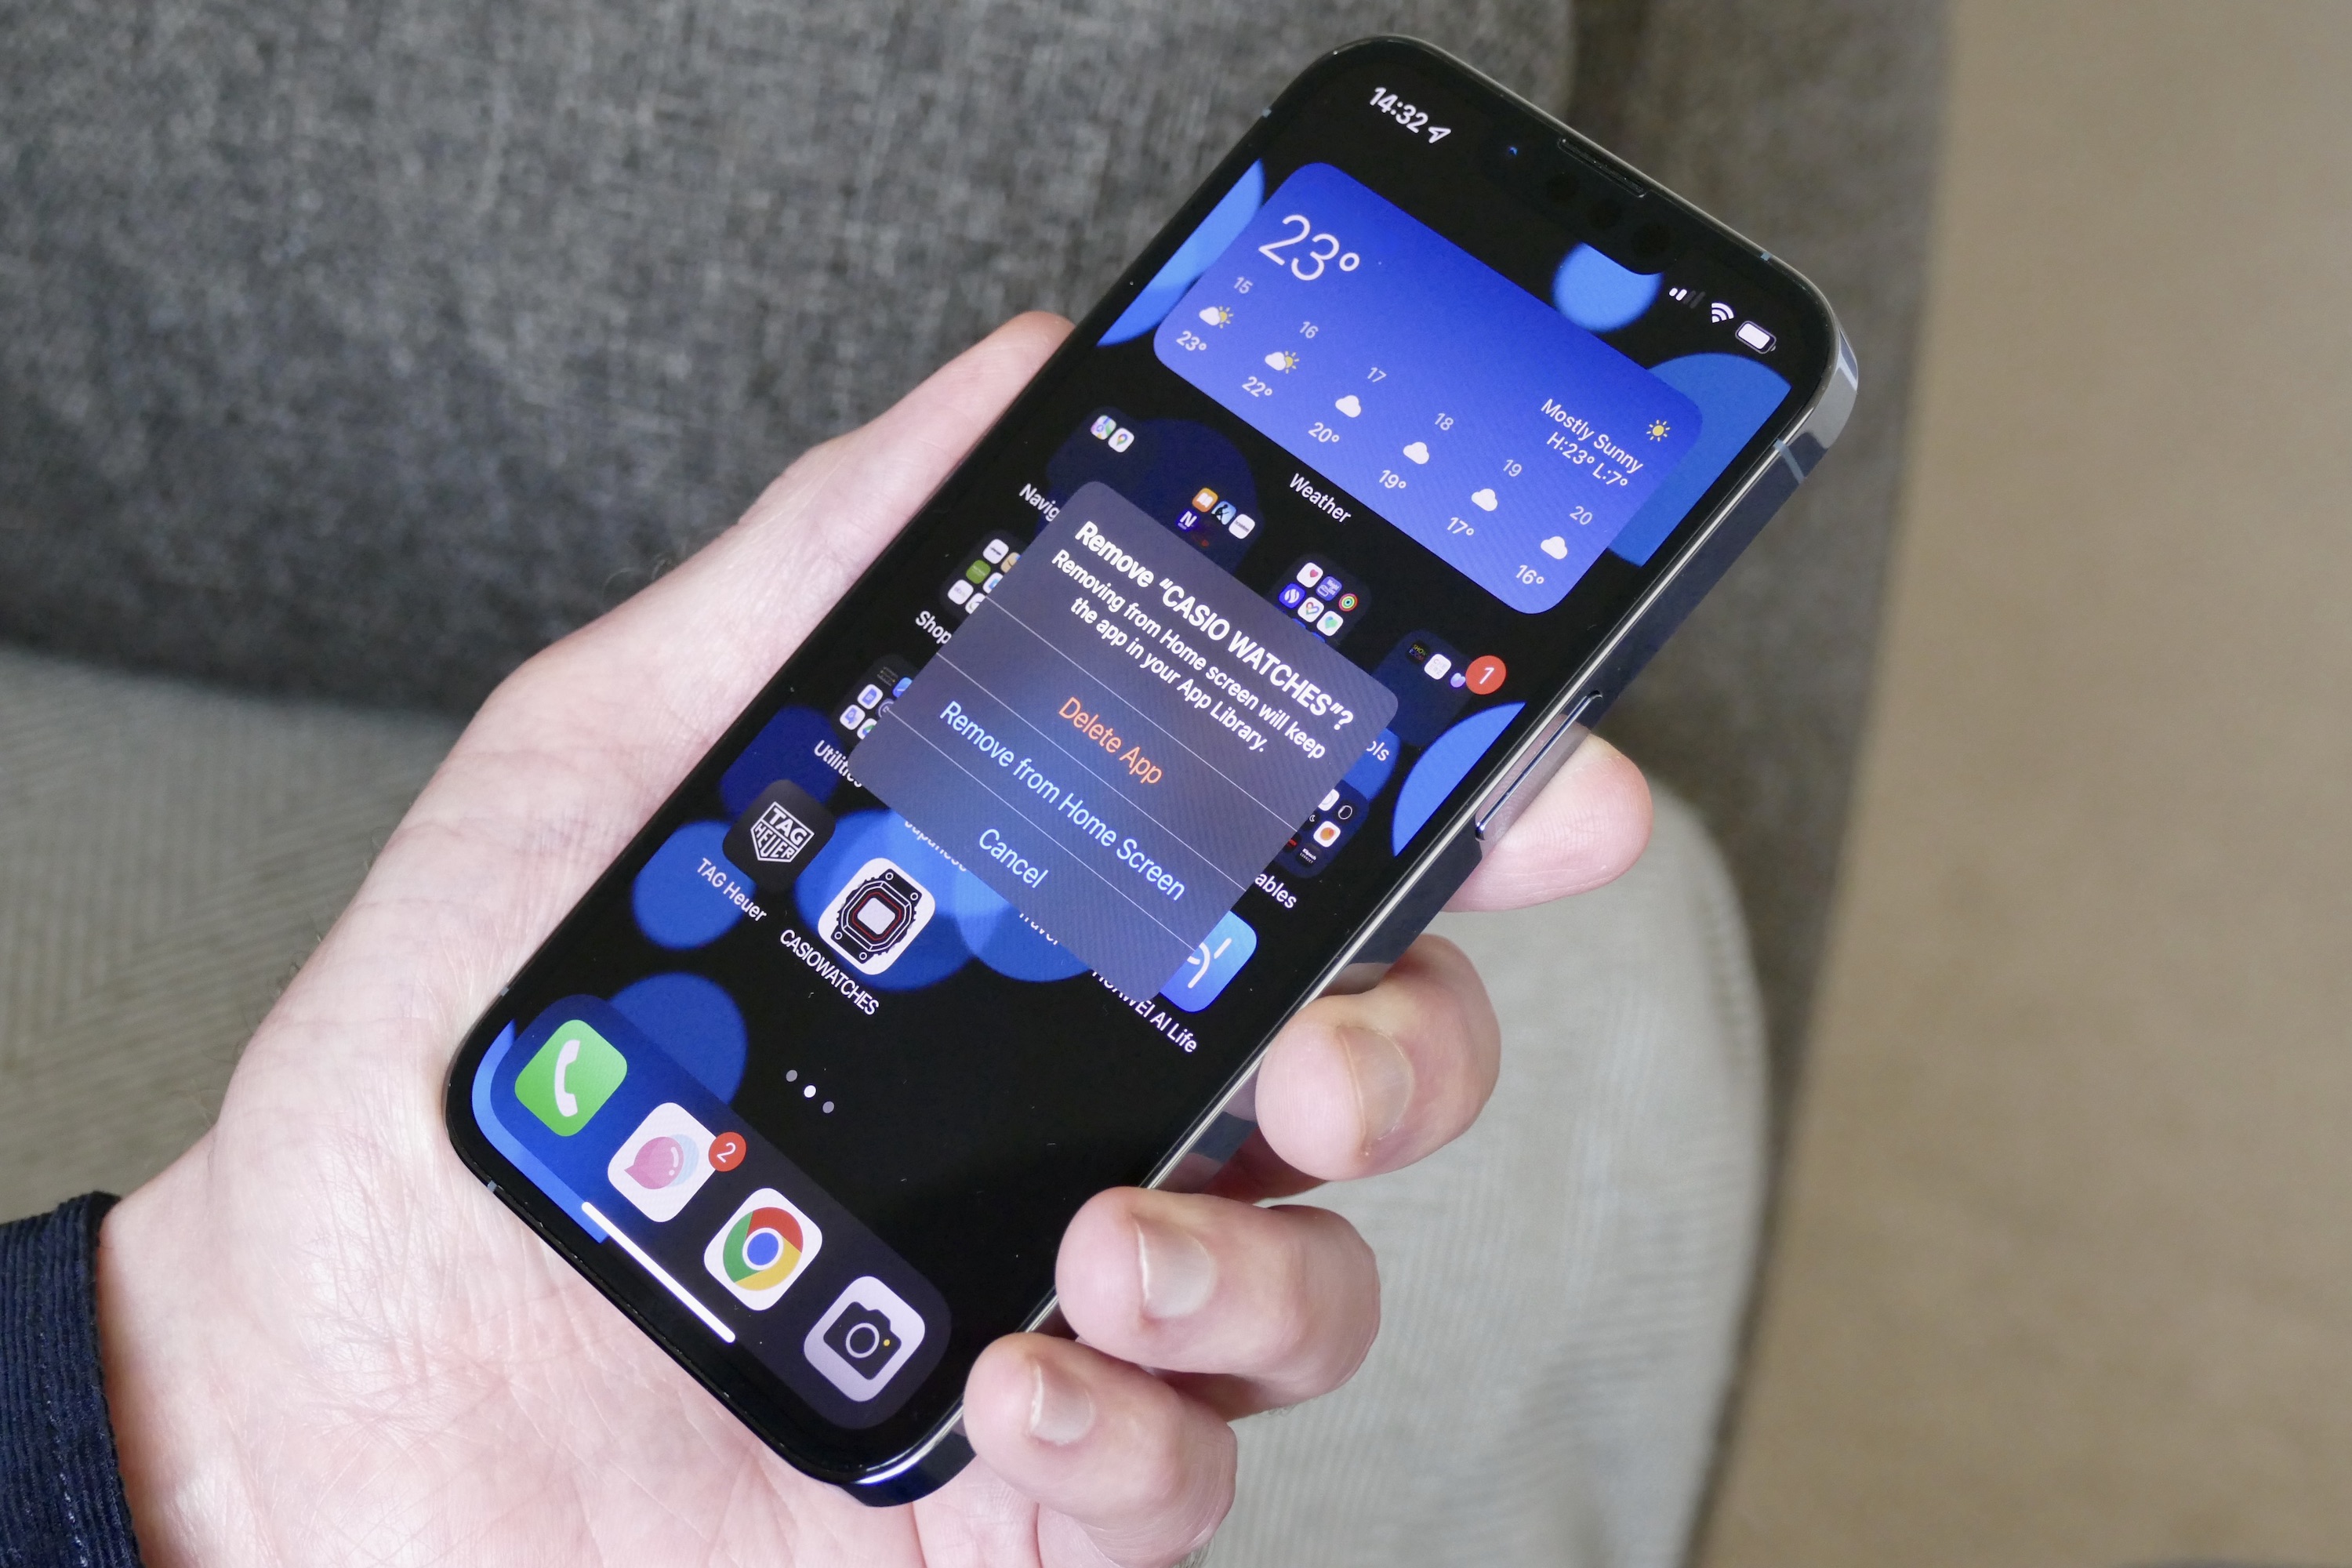
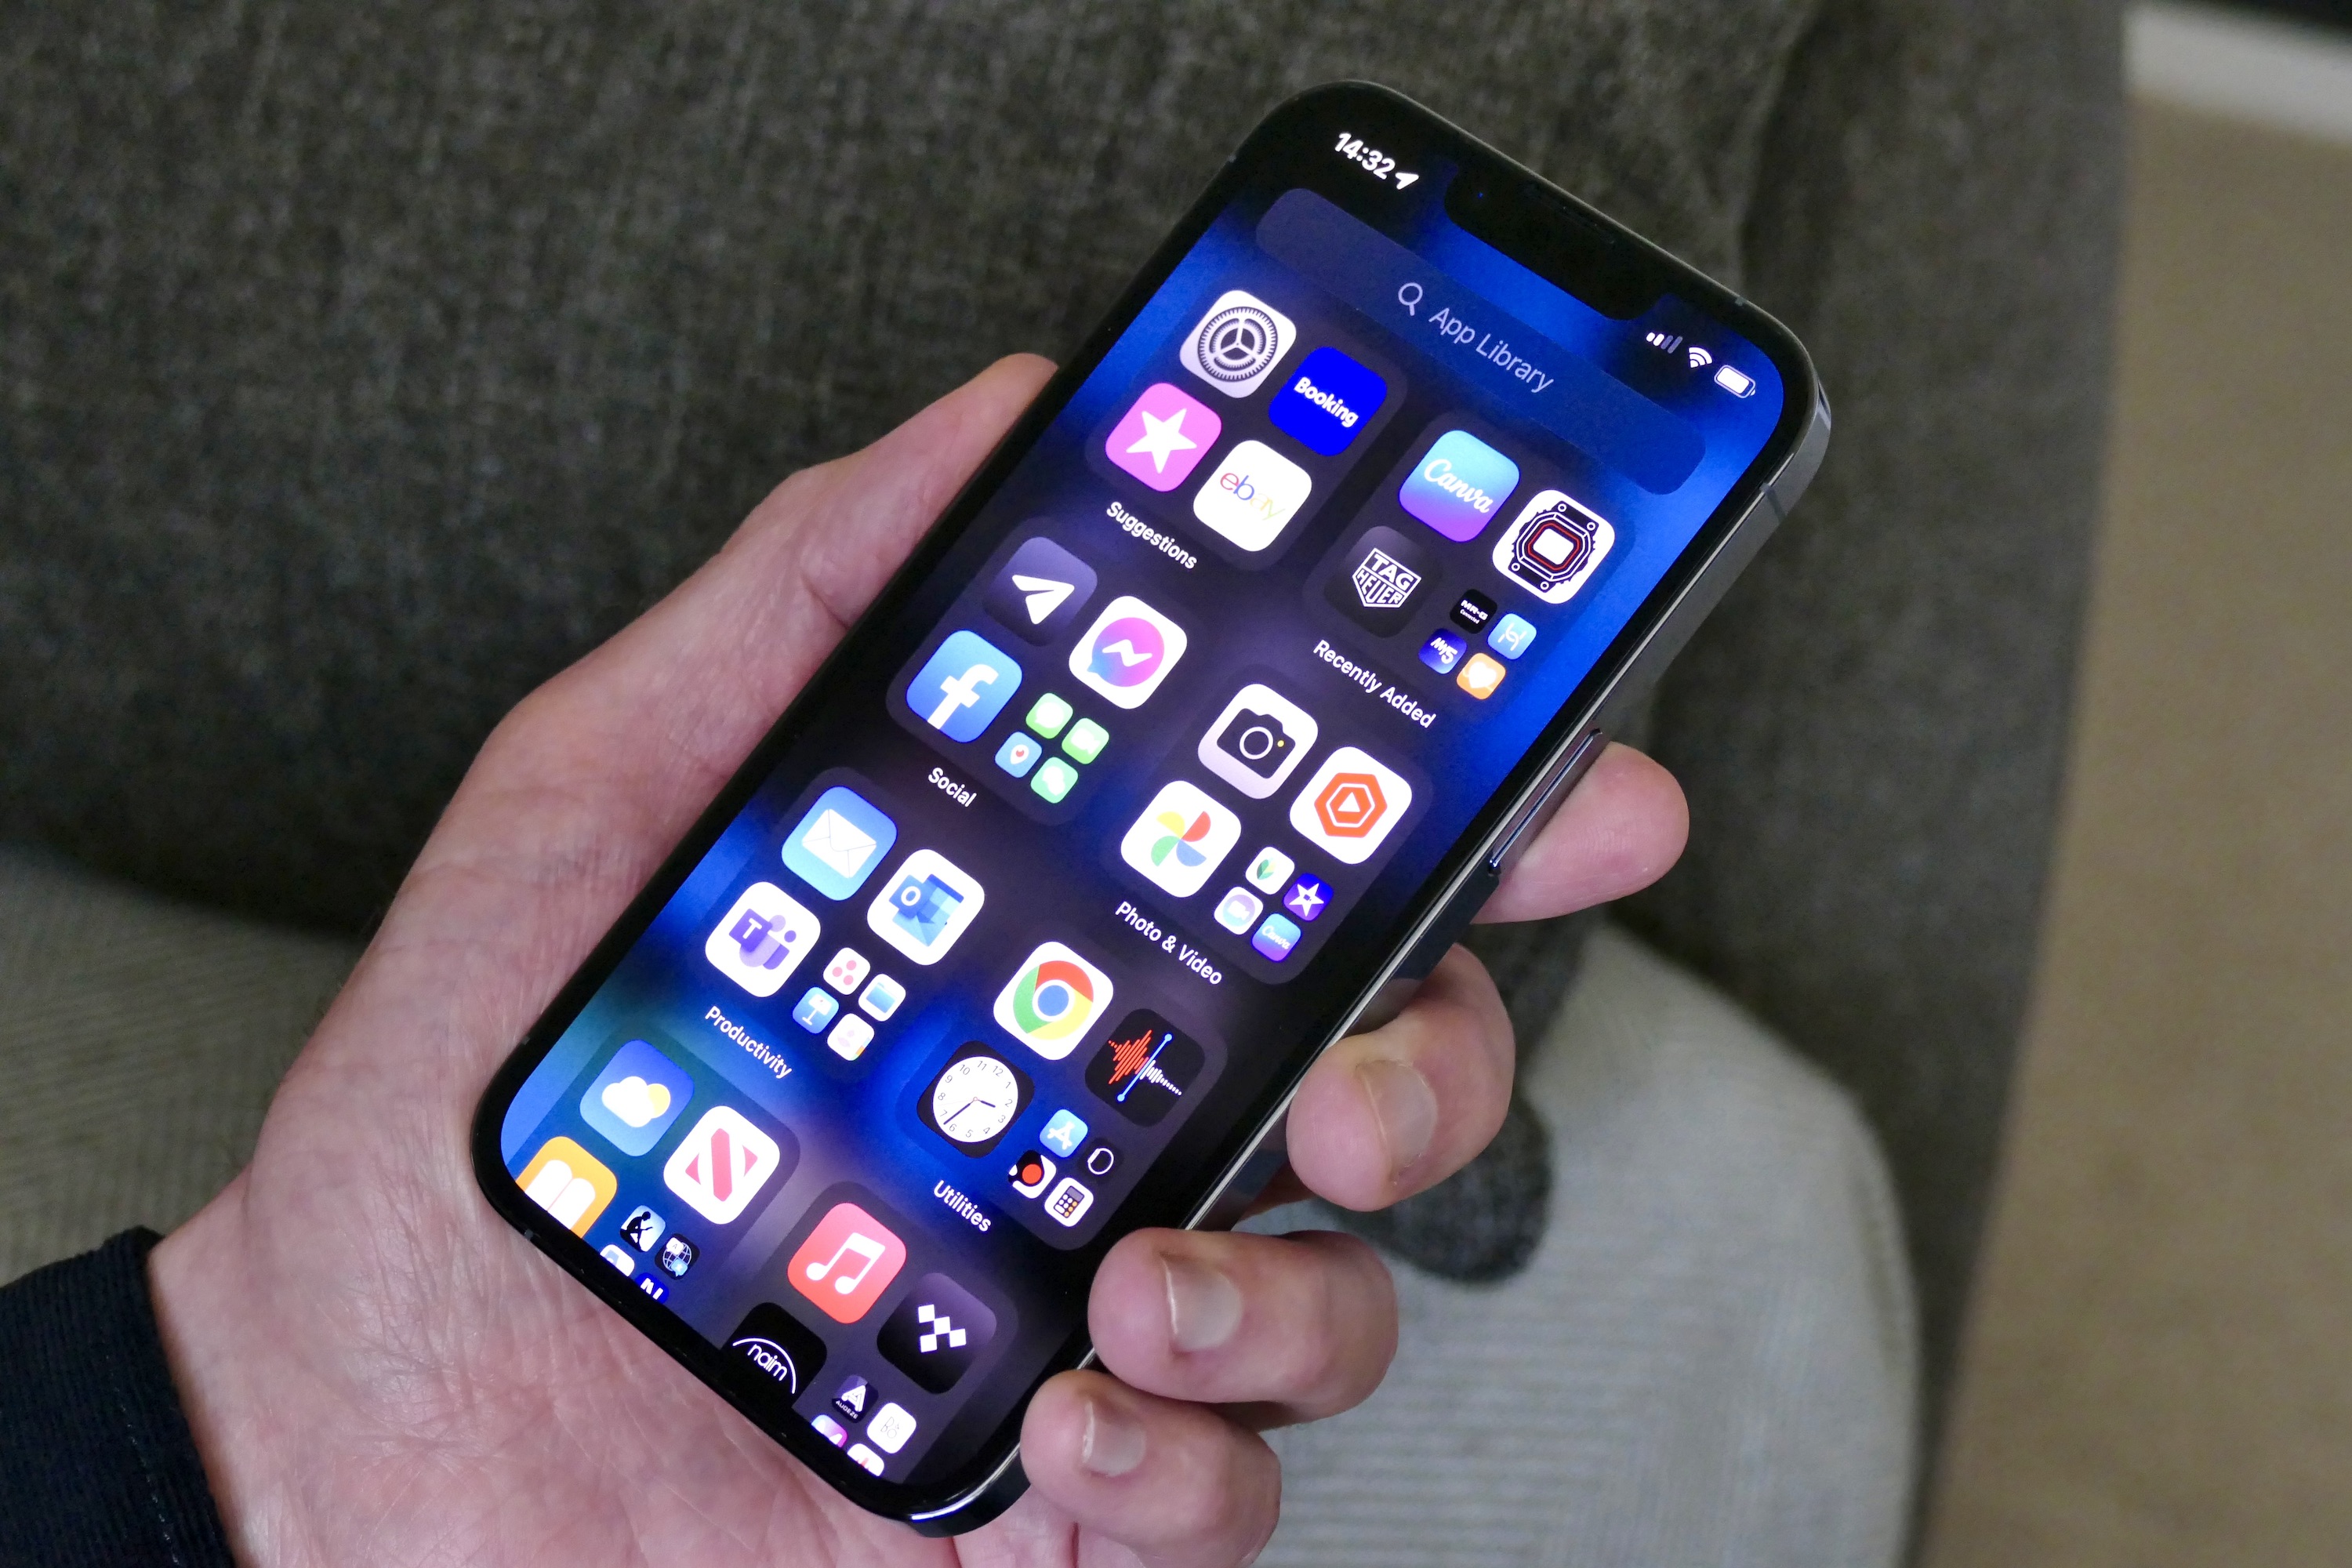
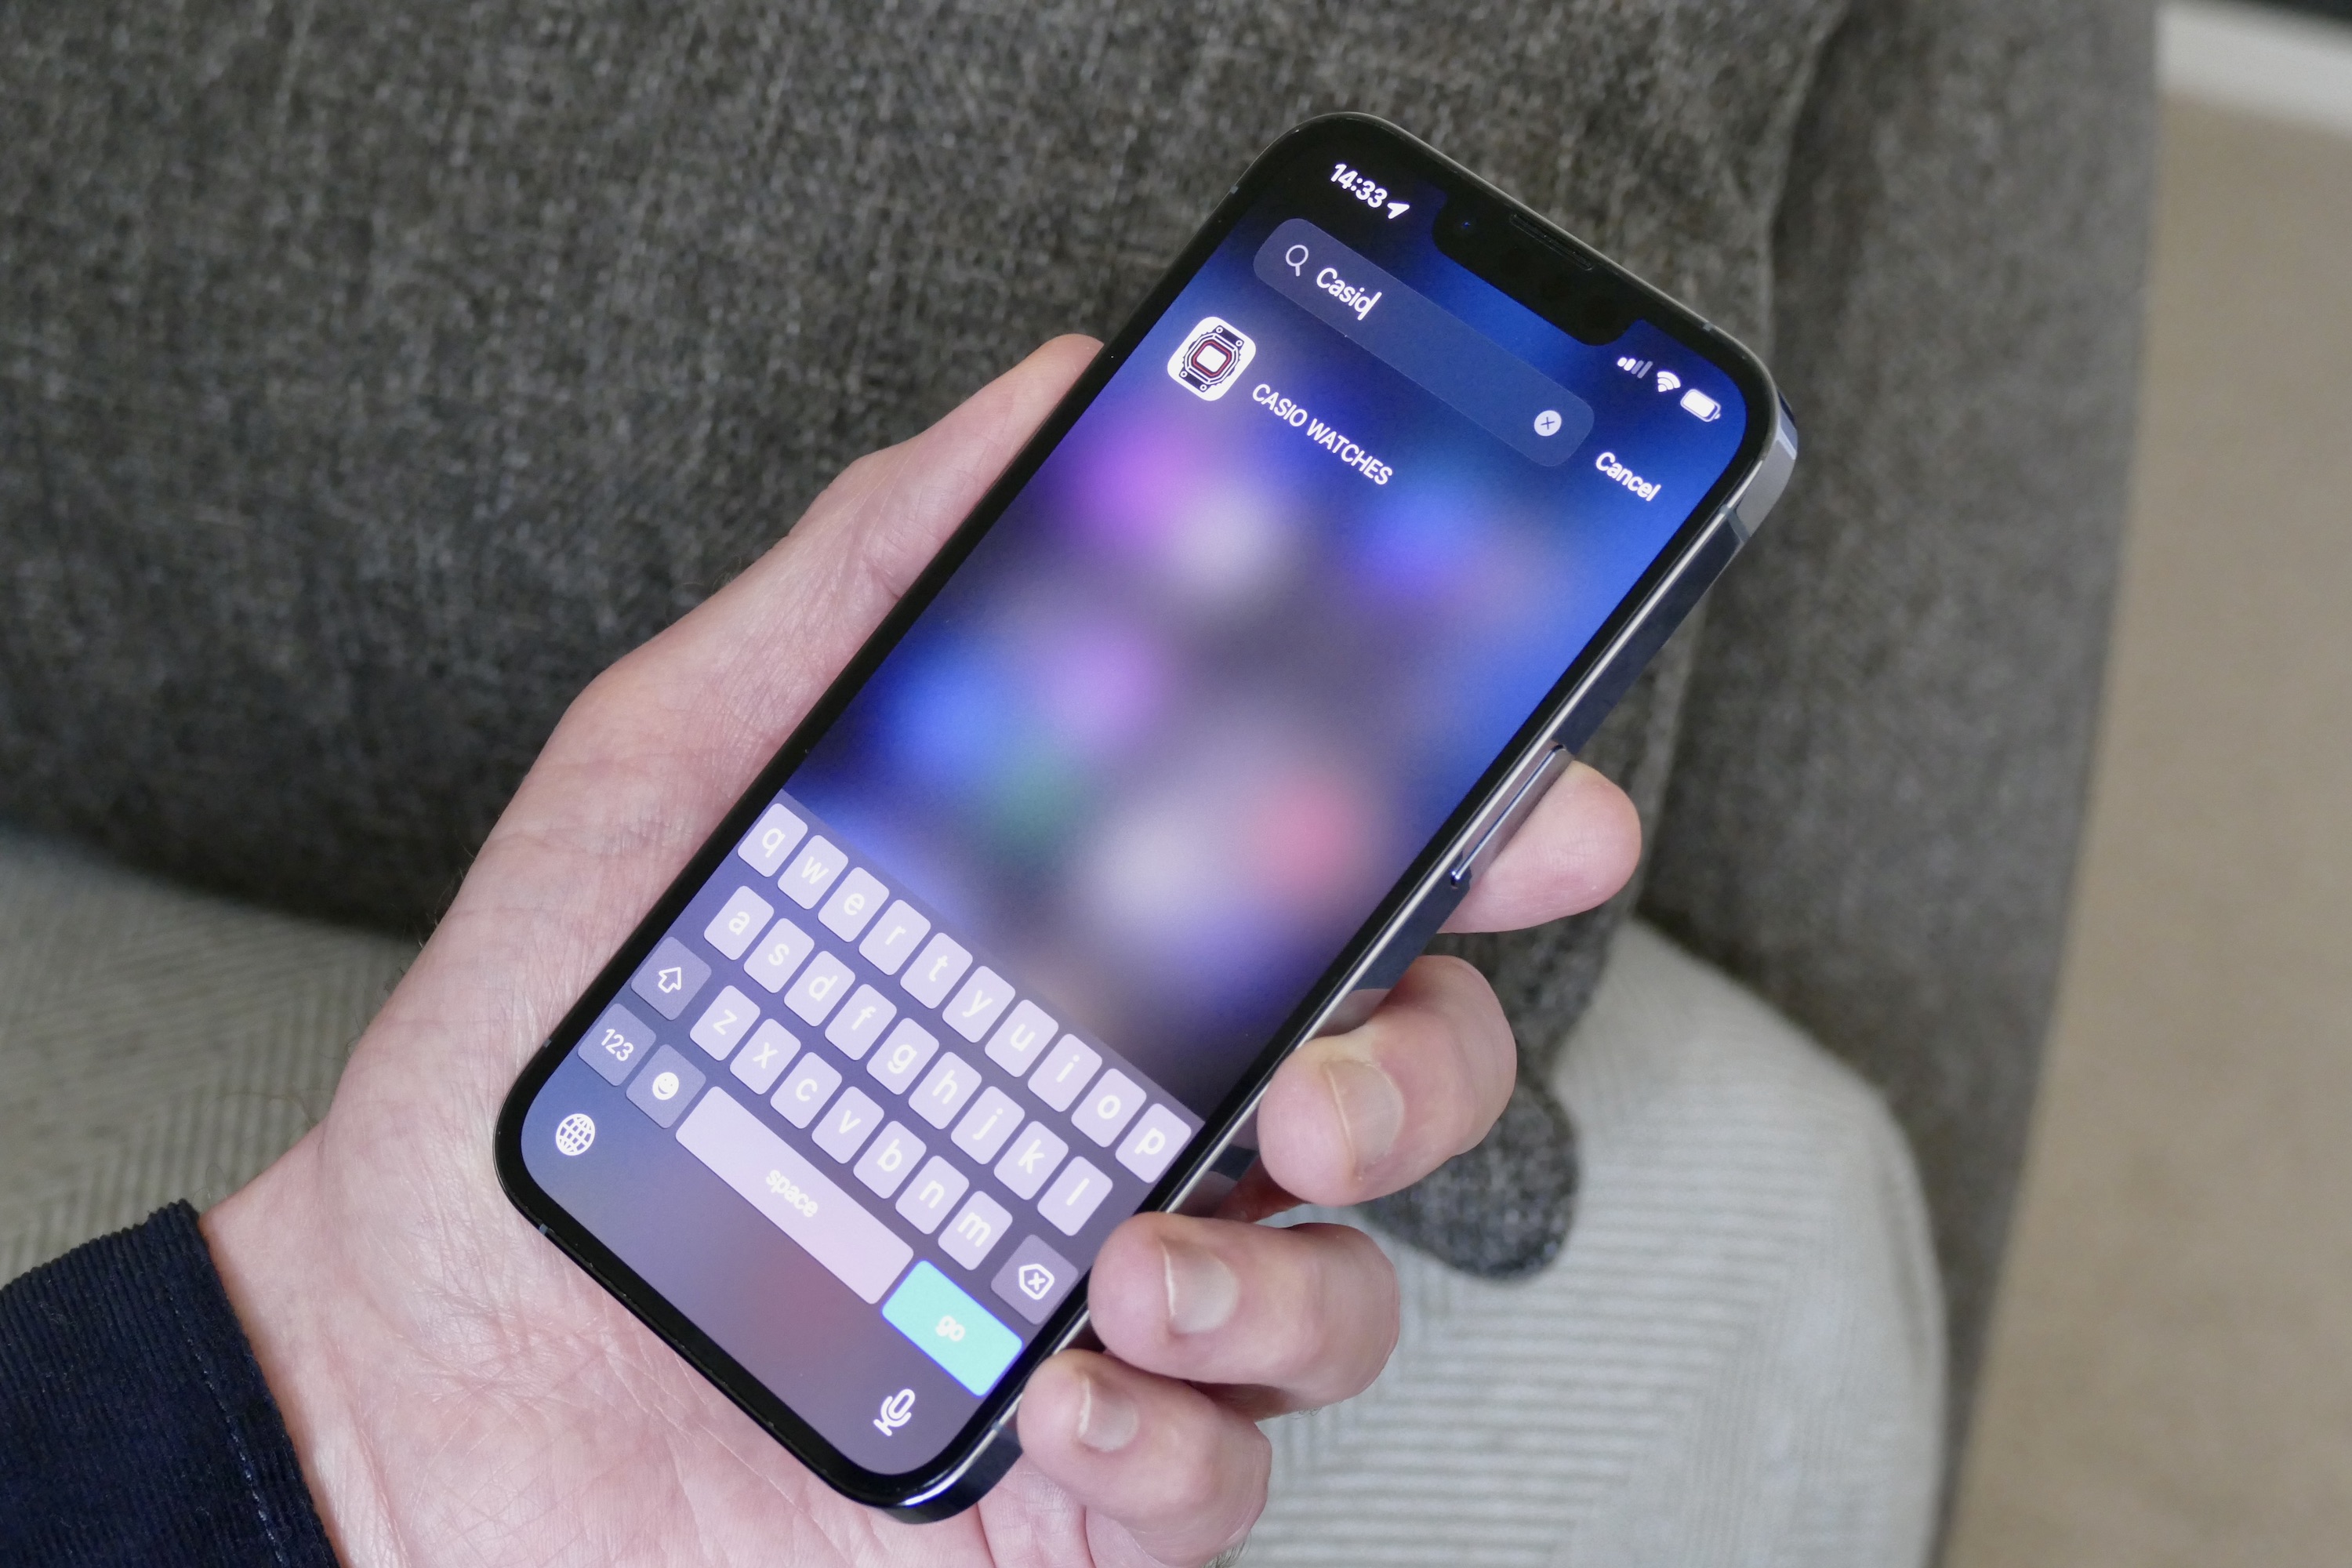
At this point, make sure you choose the Remove from Home Screen option. This deletes it from the Home screen and places it in the App Library. The App Library is found by swiping all the way to the right of your Home screens, and is an automatically generated list of all your apps that is easily searched using the bar at the top of the screen.
By making use of folders and the App Library, all your apps are still installed on your phone, but only the ones you use regularly are at hand and are catalogued and easy to find inside folders. All other apps are placed in the App Library, and finding them takes a moment using the search feature.
Change the stock apps in the Dock
The iOS Dock is the bar at the bottom of all your Home screens, and by default, it contains the Phone app, Messages, Safari, and Music. That’s fine if you regularly use these apps, but if not, you’re wasting valuable screen real estate, and you can make much better use of it.

Changing them is the same as moving apps around the Home screen: Just hold an app icon in the Dock until it jiggles and drag to a new location. Select your new preferred app in the same way and drag onto the Dock. Now, apps you use most often will always be available instantly, regardless of which Home screen you’re viewing.
For example, I use Chrome instead of Safari and prefer to always have access to the Camera app over the Music app. Perhaps you use WhatsApp or Messenger instead of the iOS Messages app, so consider swapping them around too.
Add widgets, but not too many
Widgets can be useful, but they also take up a lot of space on your Home screen, so using them in moderation is key. Adding widgets can be done one of two ways. Either touch and hold a blank space on the home screen and then select the “+” icon that appears in the top left of the screen when app icons start jiggling, or swipe to the left to show the Today View, go to the bottom of the screen and select Edit, then select the “+” icon as before.

Only choose widgets that add value; don’t just randomly add a widget Stack containing multiple widgets in the expectation you’ll use them. I have added a calendar and world time widget to my Home screen, as I use them both daily, and having instant access is helpful. I also have a large Weather widget on the second Home screen. If you find you need more widgets but don’t want to sacrifice space for apps, consider adding a new Home screen dedicated to widgets.
Make sure to experiment
That’s it for my five basic tips on how to customize iOS’s Home screen to make it more useful and less cluttered. This is all based on how I set my iOS Home screens up, but what works for me may not be exactly suitable for you, so take the general tips here and come up with a version that suits you best. The thing to remember is to have fun and experiment. You can find more tips and tricks for iOS 13 here, if you’re keen to dig even deeper. Or, if you have a problem with iOS 13, then we’ve got solutions for common iOS 13 issues here.


